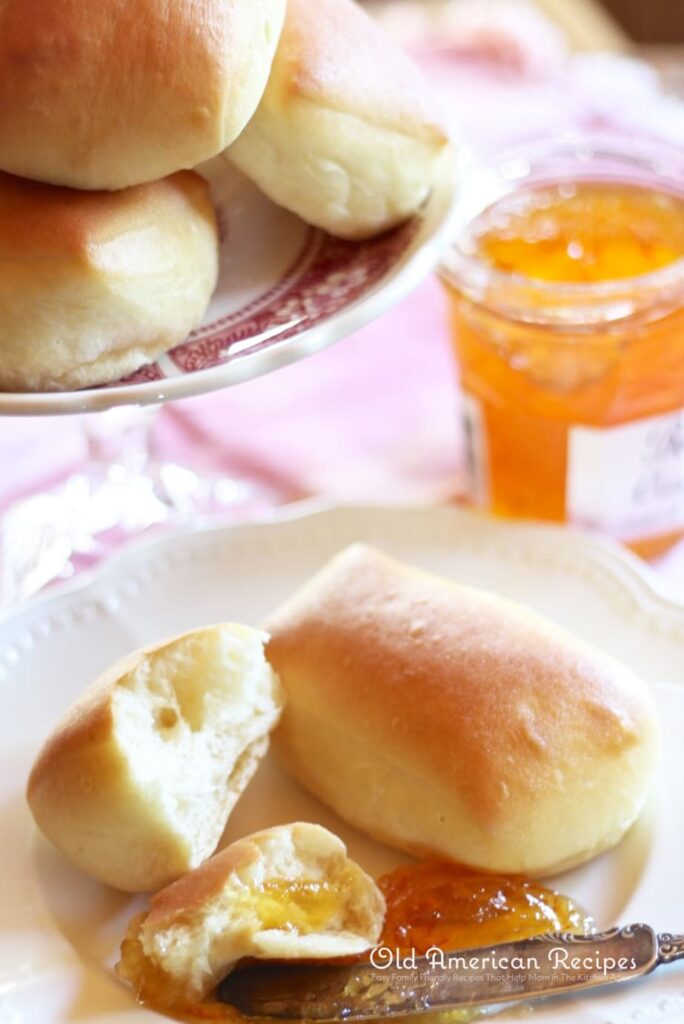
Making these celebrated rolls just got easier! Due to the overwhelming response, as in mega-thousands (thank you all soooo much!), to the post where I shared the Better Than Texas Roadhouse Rolls, I’m back to tell you they can be simpler to make with the same results using a bread machine.
Scroll to Bottom for Printable Recipe Card.
Living so far away from a thriving metropolis sometimes gets the best of me. Especially when I get a hankering for a specific cuisine, or daydreams drift to places with savory aromas or of specialty baked-good havens. And so it is with these rolls.
Lately I’ve been taking every yeast recipe I love and using the bread machine for making the dough. Perhaps, out of necessity. After endless hours of whisking and experimenting, my wrists started to give me trouble. There was no way a little bit of pain was going to keep me from baking. No way. No how.
Then it occurred to me that maybe more of you would be whipping out these buttery, garlicky rolls in your own homes if they weren’t so time consuming.
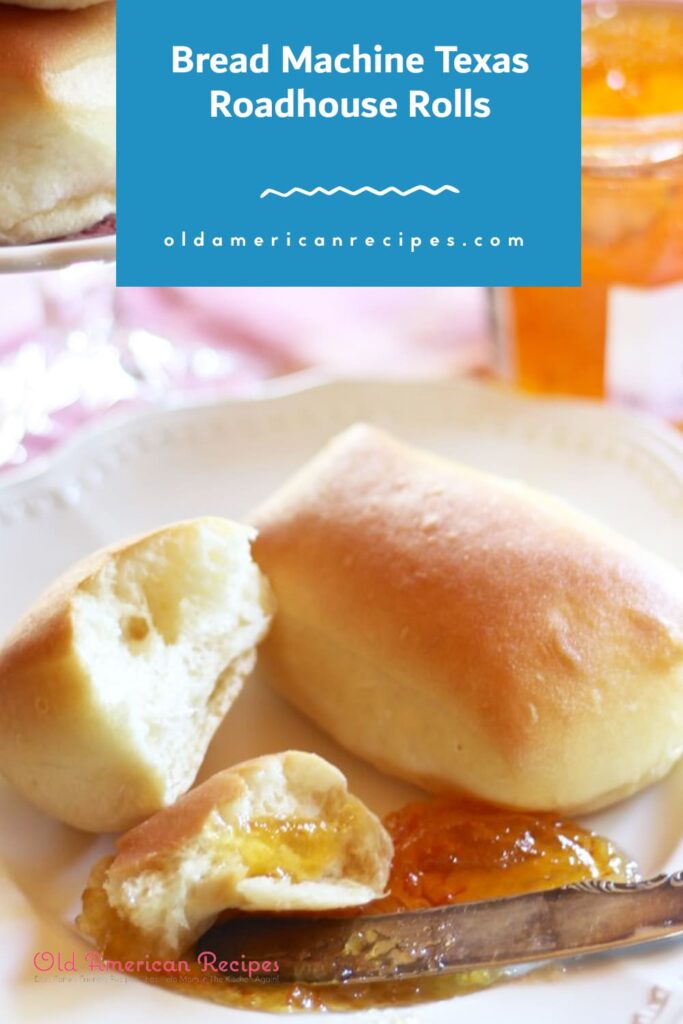
Here’s the latest version of those soft, famous restaurant roadhouse rolls. They remain perfectly puffy pillows of glory.
If any of you have been sitting on the fence about making these, thinking they’re going to take up a big chunk of the day and a big mess to clean up, then please reconsider. I’m going to share a few tips and tricks that will ease you of any possible frustration. Take it from someone who’s learned the hard way through years of trial, error, and finally, success.
Forget about visions of flour landing in every nook and cranny of your kitchen. For the most part, we’re going to keep this clean. Sound good? Or do I need to give you more of an incentive.
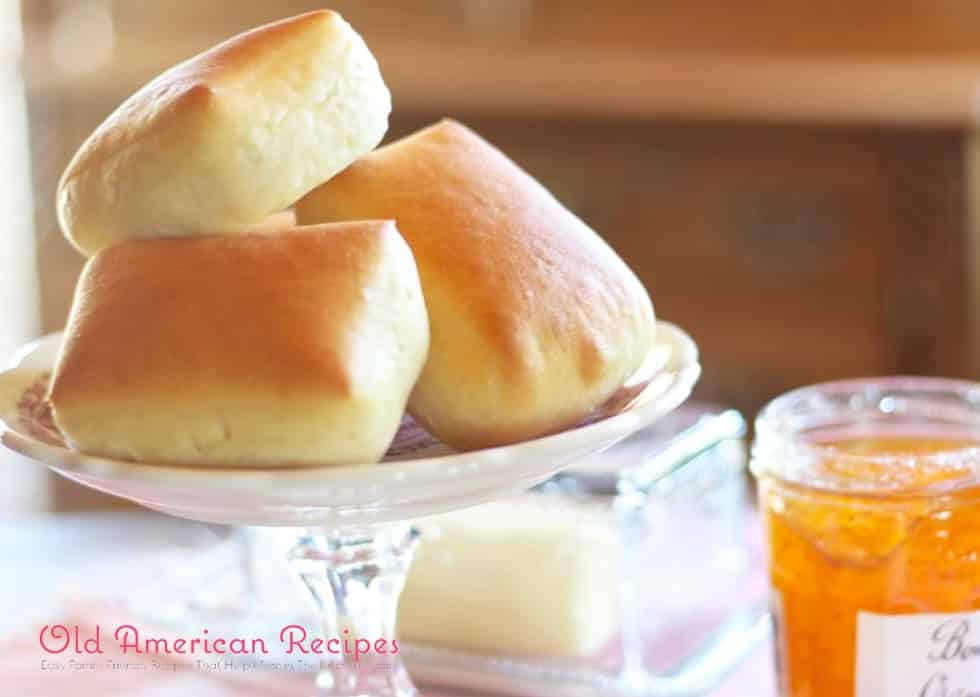
Okay, how about if you could wield these puppies on a tray before family and friends?
Hopefully by now you’re ready to dive in and give these gems a go. If I can do it, you can do it. It was many moons before I was able to overcome my fear of yeast. Since I’ve embraced it, my culinary adventures have soared to new heights. Yours can too. Unless you’re way ahead of me. In which case, are you willing to share your expertise? Pretty please?
Here’s a rundown of simplifying the bread making process:
- Measure out all of your ingredients ahead of time. Make sure they’re at least room temperature. Warmer when specified in the recipe.
- Whisk together all dry ingredients in a medium-sized bowl, except for the yeast. Keep that dry and separate. It will go in at the very last before you hit start on the dough cycle.
- I like to put my water and milk in a small microwave-safe bowl and nuke for about 45 seconds, until it reaches between 110 and 120 degrees on an instant read temperature gauge.
- Take the pan out of the bread machine and place level on the counter. First add the wet ingredients.
- Then spoon on top the flour/sugar/salt mixture.
- Gently make a divet or swell in the top of the flour mound with a tablespoon. Then add the yeast. It should sit cradled in the little dip you made.
- Return the pan to the bread machine. Close the lid. Select the Dough Cycle setting. Then push start. It will do all the kneading and rising from here.
- In the meantime, line 2 large baking sheets with parchment paper. Easy clean-up this way.
All the while the dough is kneading, the most heavenly aroma of yeast and garlic will permeate your kitchen and spaces beyond.
Once the dough has made it’s last rise (about an hour and a half), turn it out on a flour-dusted space on a table. Then roll it out in a rectangle about 1/2-inch thick.
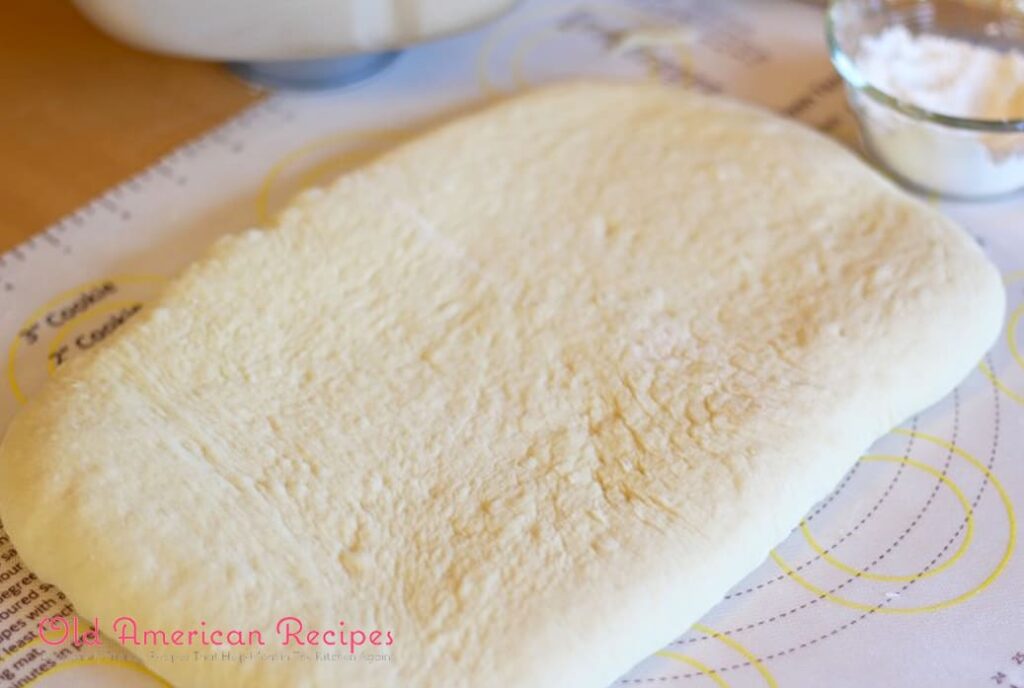
Using a pizza cutter makes it super easy to cut through the dough in even pieces. You get a nice clean edge that way, quick and clean, and you don’t have to fight with a knife that sticks with the goo from the dough.
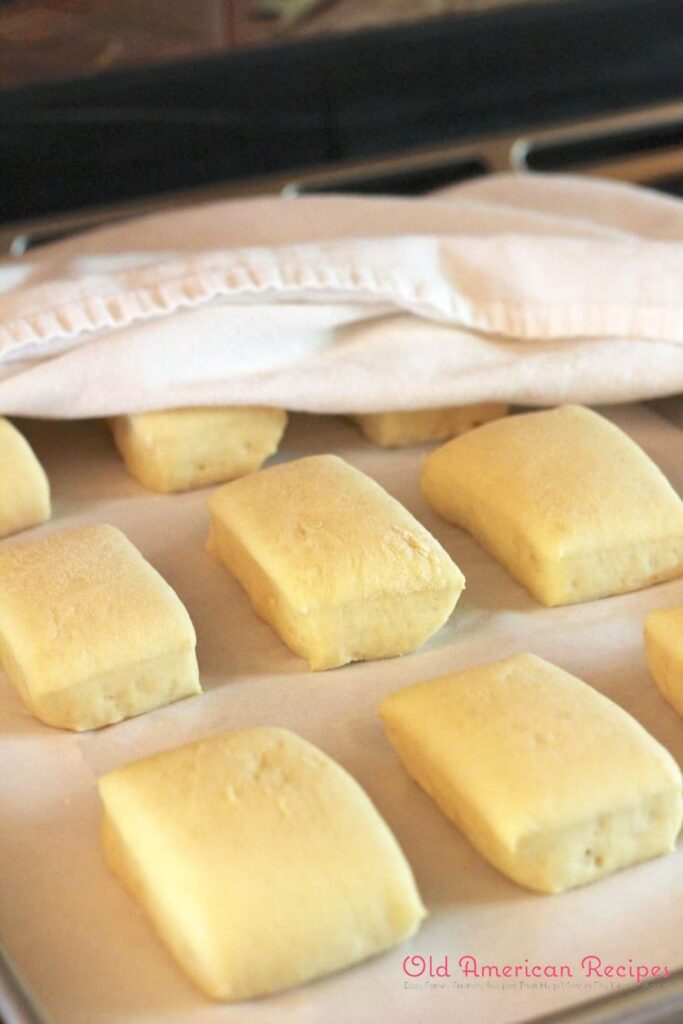
I like cutting the dough in slightly shaped rectangle shapes. I don’t know why, I just do. Perhaps I’m thinking ahead and how they’ll make for the perfect little snack sandwiches stacked with my favorite meat, cheese, and veggies. Herein lies the secret thoughts of a bonafide foodie. Mercy.
The rolls will rise high while baking. You’ll want to be sure they just reach the point of a light golden color before removing them from the oven.
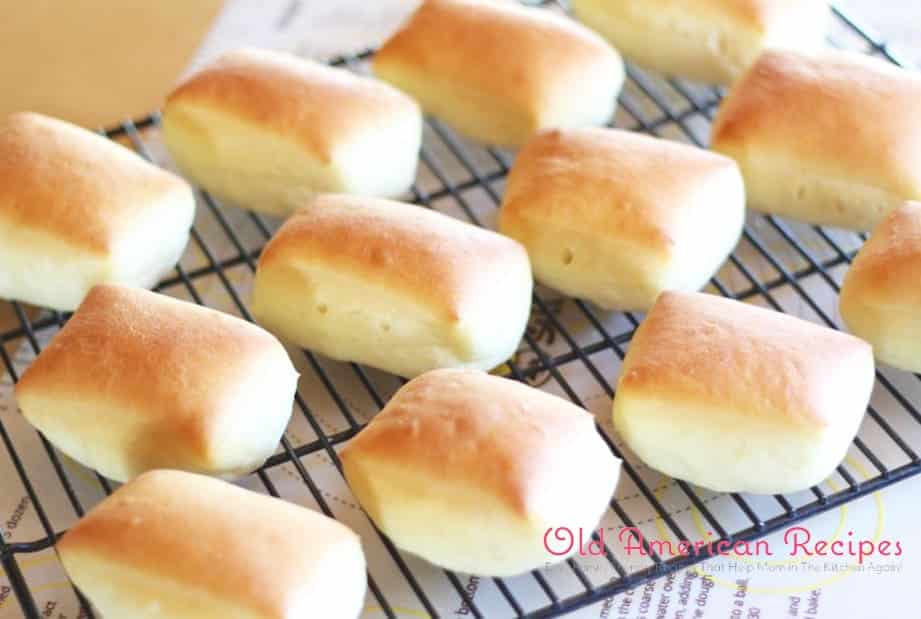
Have melted butter at the ready. You’ll want to be sure to brush it on top of the hot rolls (or spoon it on, or use your fingers or whatever you have, you just can’t miss this part!).
At the end of the day, or afternoon, here’s what the payoff will be.
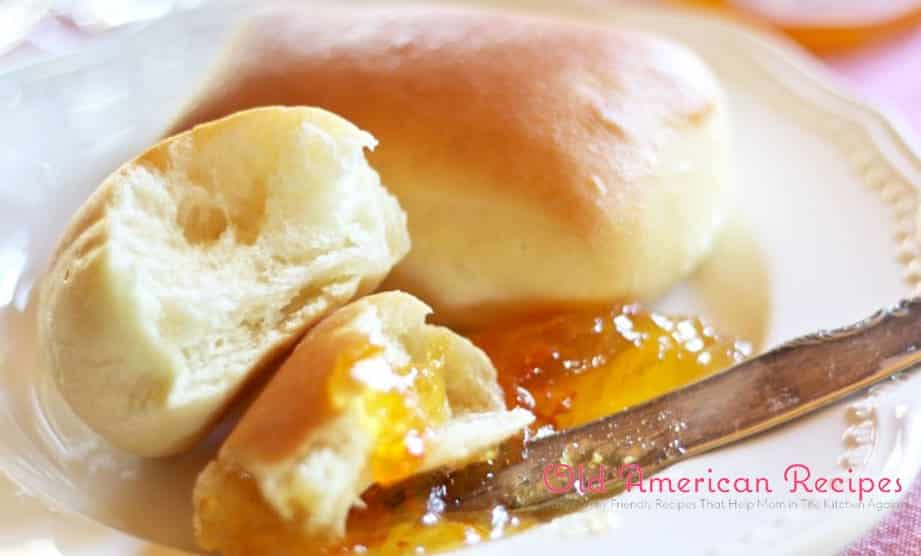
Never have I made, or eaten, a better roll than these. Hubs will attest to that! They’re his favorite also.
Here’s the recipe for these unforgettable, heavenly Bread Machine Texas Roadhouse Rolls that you can make in your own kitchen. You won’t be disappointed.
Bread Machine Texas Roadhouse Rolls
Ingredients
- ¼ cup lukewarm water
- 1 cup lukewarm milk
- 1 large egg room temperature
- 3 tablespoons melted butter room temperature
- ¼ cup sugar
- 4 cups all-purpose flour
- 1 teaspoon garlic salt
- 1 envelope .25 oz active dry yeast
- ¼ cup melted butter for basting rolls
Instructions
- In a bread machine pan, add the water, milk, egg, and butter.
- Whisk together the sugar, flour, and salt. Spoon on top of liquid in pan.
- With a spoon, make a dip in the top of the flour. Add the yeast.
- Secure pan in machine, close lid, and set on dough cycle. Press start.
- When cycle is complete, remove dough from pan and place on a floured work surface.
- With a rolling pin, roll out dough in a rectangle to approx. ½ inch in thickness.
- Using a pizza cutter, divide into 18 pieces.
- Place each piece 2 inches apart on parchment lined baking sheets.
- Cover with a clean kitchen towel and allow to double in size.
- Preheat oven to 350 degrees. When rolls have risen, place on middle rack of oven.
- Bake 15 minutes or until light golden brown.
- Remove from oven and immediately brush with melted butter.
- Serve warm or allow to cool.




These turned out perfect! I used bread flour (out of habit) before I saw it called for AP flour. Otherwise, no changes and have already transcribed to my cooking folder!!