She’s A Beauty: Carrot Cake Cheesecake Cake ~ Bakery Style
And, A Special Thank You
The first time I ever had the pleasure of tasting a combined carrot cake and cheesecake, it was in 1996 at a family owned Italian restaurant. Their innovative pastry chef had used carrot cake batter as a base to their classic cheesecake and swirled additional batter into the cheesecake itself.
The cheesecake was spiced just right and experiencing it was like tasting a super creamy but pleasantly dense version of carrot cake. I was hooked and even replicated a close version that was just as satisfying at home. The concept itself seemed to be such a natural progression for a newfangled cheesecake since carrot cakes are adorned with cream cheese frostings. No better way to present both cakes than in a cheesecake, right? Or, so we all thought.
Nowadays, food bloggers have been creatively adding a cheesecake layer, as a center filling, between two cake layers. And, none other than Lori Lange of RecipeGirl.com, has become “The Queen of the Cheesecake Cake” concept.
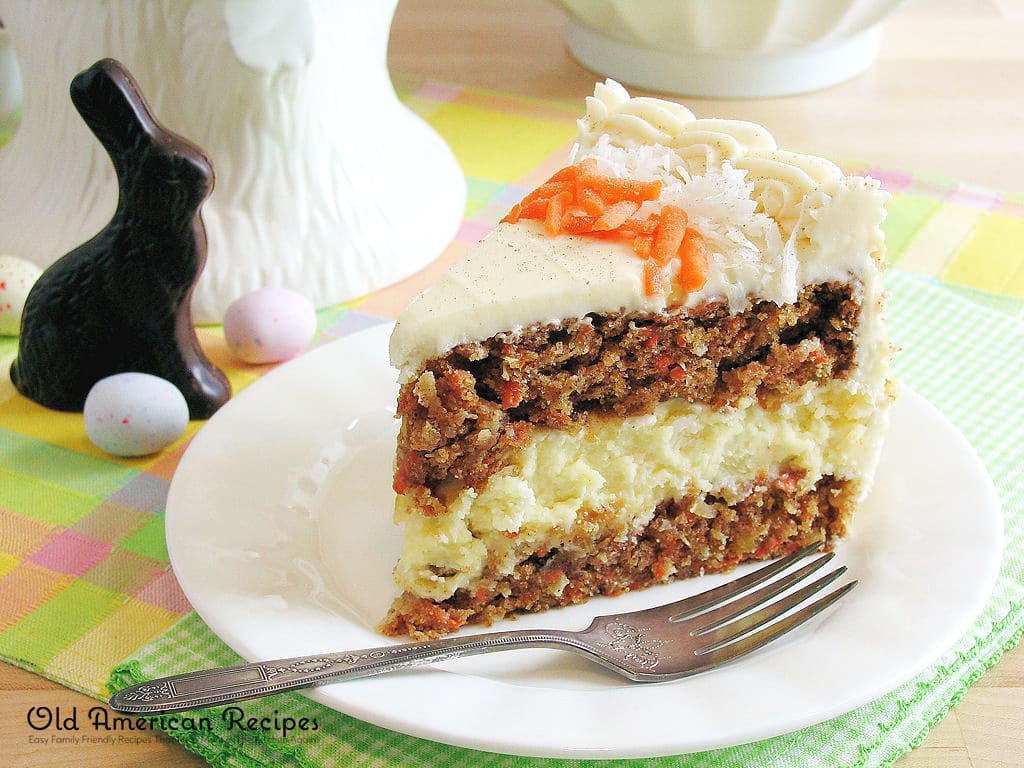
Lori did not know this…but, just recently, I had been planning on featuring my first cheesecake cake published on my blog in her honor. (Three cheesecake cakes are being planned thus far.) However, at first, I didn’t realize I had wanted to do this particular cake at this particular time. It wasn’t until late last week that I decided to prepare this carrot cake version over the weekend and feature it today—the week leading into Easter Sunday. (In fact, this post was supposed to run on Monday. However, Indianapolis was slammed with snow! Here, north of Indy, we got just about 10 inches over Sunday and Monday’s winter snow storm—incidentally, this kept me busy shoveling snow and out of the kitchen.) Featuring a Carrot Cake Cheesecake Cake seemed like the ideal “cheesecake cake” with perfect timing for the spring holiday.
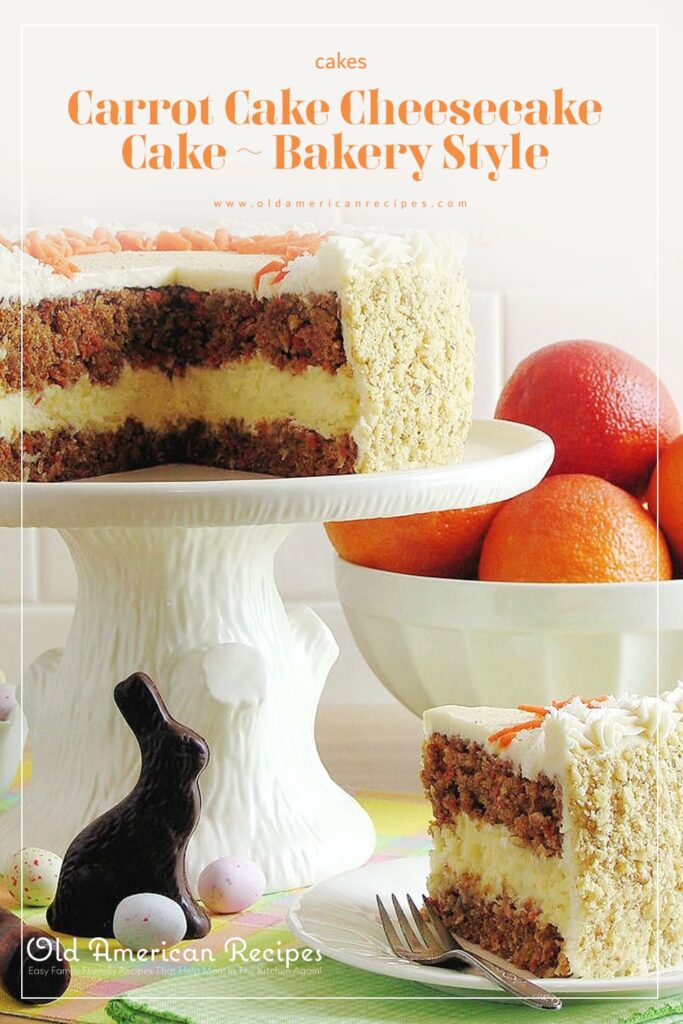
Why would I be honoring Recipe Girl with a “cheesecake cake” recipe, you ask? Well, it is for two very simple yet important reasons:
1) As a BIG thank you. Lori is an exceptional leader. She is down to earth and approachable to peers and everyday foodies alike–despite her success. The brands she works with must consider themselves fortunate for having partnered with her. Lori didn’t know this newbie from Adam (No…not Levine, Kristen! And, I didn’t even have a live blog yet.) when we connected just about one year ago via Twitter. All she knew was that I was planning on starting a food blog soon and that I had congratulated her on her first book deal, The Recipe Girl Cookbook (Houghton Mifflin Harcourt; 1st edition; release date of April 16, 2013, per Amazon.com). She replied back to my tweet, “Thank you!” Her graciousness was refreshing. Lori deserves recognition for her leadership and to be thanked for her kindnesses.
[Edit: If there ever was doubt of Lori’s outstanding leadership, question no more. Check out her post for all food bloggers, just posted today: Food Bloggers: 150+ Links to Everything You Need to Know.]
2) To celebrate the upcoming release of Lori’s cookbook, The Recipe Girl Cookbook, of course! This is Lori’s first cookbook and she will soon officially be (in just a few short weeks!) a published cookbook author. This is quite an accomplishment and a celebration in need of a special cake—from someone who appreciates her and wishes to share in her joy with a big pat on the back the way a good friend would. If I was having Lori over for cake, to celebrate the release of her cookbook, this is the cake I would prepare for her!
Lori is always helpful, warm, friendly and professional. For this new girl on the block, Lori’s support has meant a great deal.
So, Lori… thank you! Thank you for being you. Thank you for leading and supporting so many in your industry. We appreciate and support you as well. We are thrilled for you, over the moon and back, over your accomplishments. At this time, we are delighted to congratulate you on the upcoming release of your first cookbook, The Recipe Girl Cookbook!
May the Lord continue to bless you, now and always.
xoxo,
~Stacy
Cheers!
Now, let’s get to the cake!
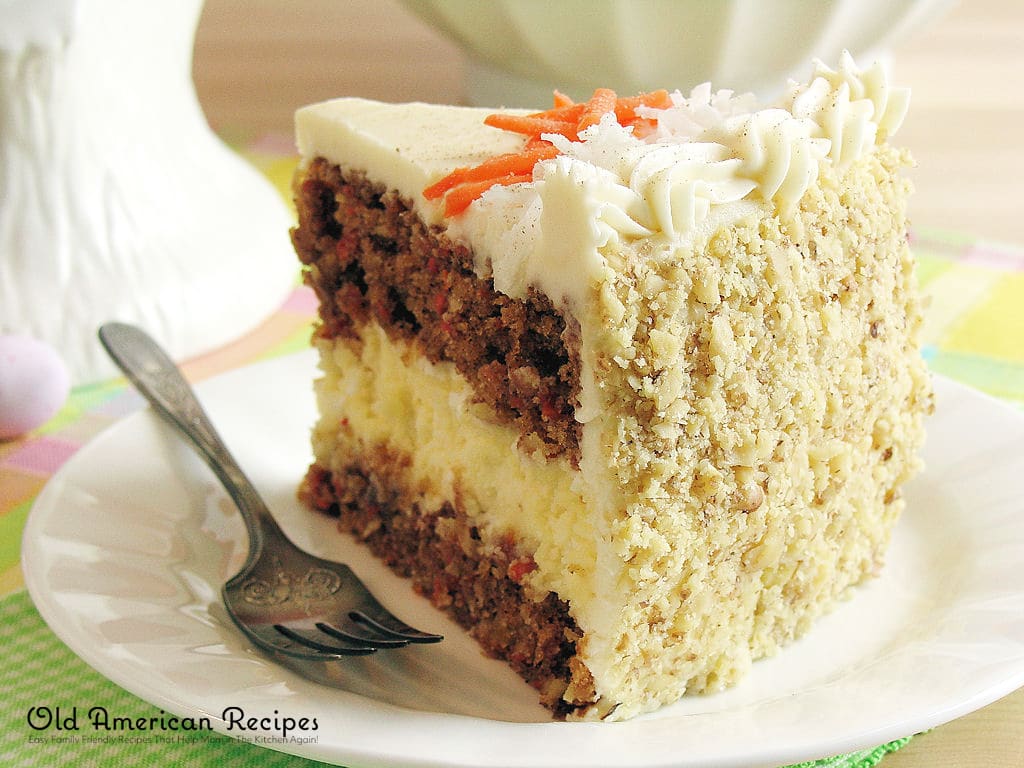
I have been making my carrot cake for over 20 years now. It is moist, tender, and spiced just right. The recipe is an amalgamation of several recipes and influenced most by Mrs. Fields’ (Debbi Fields) carrot cake recipe (from her cookbook, Mrs. Fields Cookie Book, published in 1992 by Time Life Books) and the one found in my copy of the New Better Homes and Gardens Cookbook which only calls for grated carrots in the batter—nothing fancy, but a good basic carrot cake. Sometimes, I use melted butter in place of creaming the butter as in Mrs. Fields’ recipe. However, for this recipe here, I am calling for oil as most people find it convenient and economical as well as easy—by simply being familiar with preparing carrot cake in this way.
The main significant changes for the cake recipe are that, in 1990, I used half light brown sugar and added shredded sweetened coconut along with the carrots and pineapple and loved it. Family and friends both agreed it was the best carrot cake they had ever tasted. When I bake this carrot cake recipe, sometimes I divide the batter between three 8-inch round cake pans for a nice compact but taller cake which always looks impressive with the three layers when sliced for serving. (See the “Options” section below, under “Notes” in the recipe, for directions on baking the cake in three 8-inch round cake pans. You will also find an option to bake the carrot cake batter into cupcakes as well as a gluten-free option.)
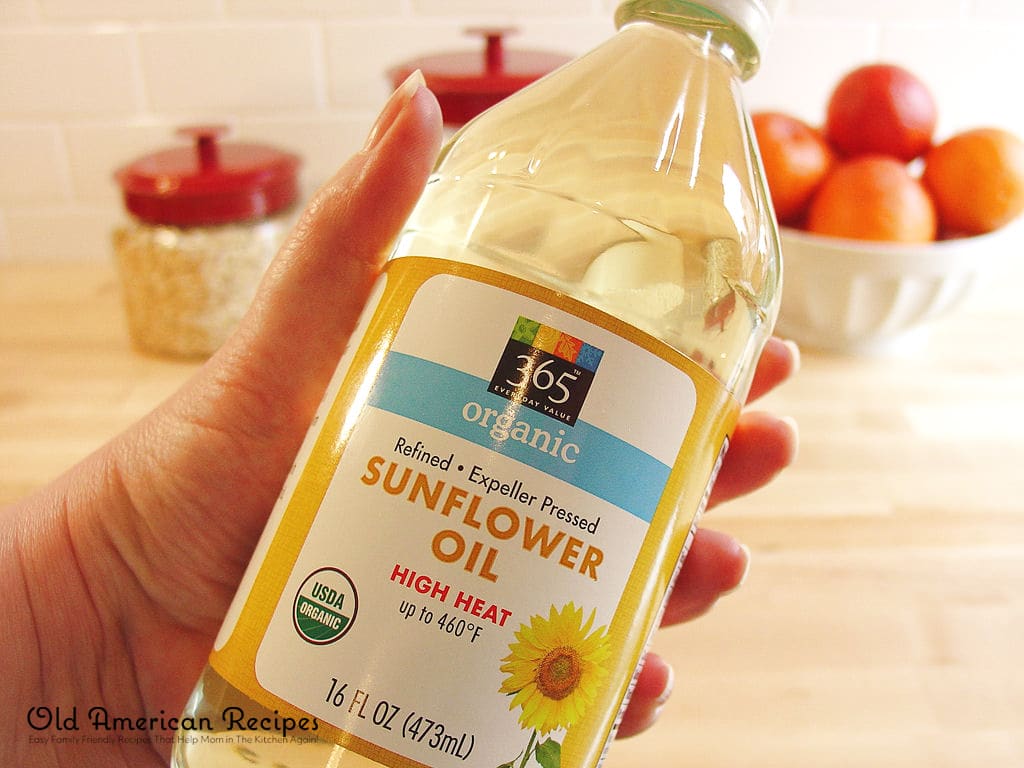
Sometimes I stir raisins into the batter, about ¾ cup. But, when I do, I prefer adding golden raisins (sultanas) because the cake seems prettier to me this way. The golden raisins, when studded throughout the cake, resemble little golden gems that glisten ever so slightly due to their moisture. Also, I like to use cold-pressed (or expeller-pressed) oil when I do use oil in my carrot cakes. My specific preference is using organic cold-pressed sunflower oil. However, a favorite nut or vegetable oil will do nicely.
Just as with my carrot cake recipe, my Cream Cheese Buttercream recipe was inspired by the one found in my New Better Homes and Gardens Cookbook. It is quite the opposite of Mrs. Fields’ recipe which calls for two 8-ounce packages (16 ounces) of cream cheese and only one stick (½ cup or 4 ounces) of salted butter. The BHG recipe calls for one 8-ounce package of cream cheese to one stick of butter (again, at 4 ounces). However, I increased the amount of butter from the BHG recipe to create a true “Cream Cheese Buttercream” in a 1:1 ratio (8 ounces to 8 ounces) of cream cheese to butter with enough confectioners’ sugar to thicken the consistency to pipe beautifully. Sometimes, I even use one stick of salted butter with one stick of unsalted for a nice salty-sweet balance.
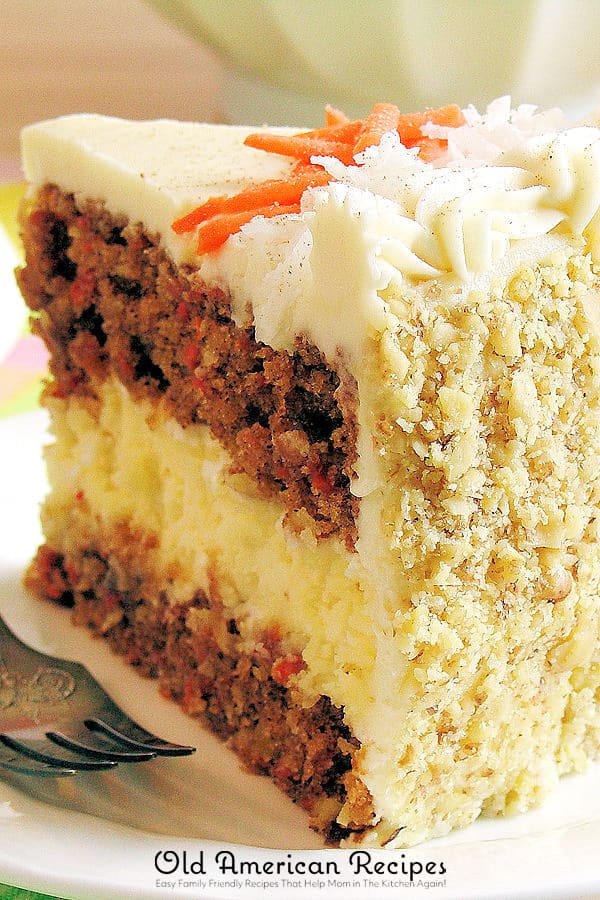
As for the walnuts, I tend to reserve them solely for embellishing the sides of the cake, after finely chopping, versus adding them (typically, coarsely broken or chopped) to the batter. This way, the cake is moist, tender and indulgent throughout, without any disruption of harder nuggets—thus, in perfect harmony with our creamy middle cheesecake layer. Sometimes I toast the nuts, other times I don’t.
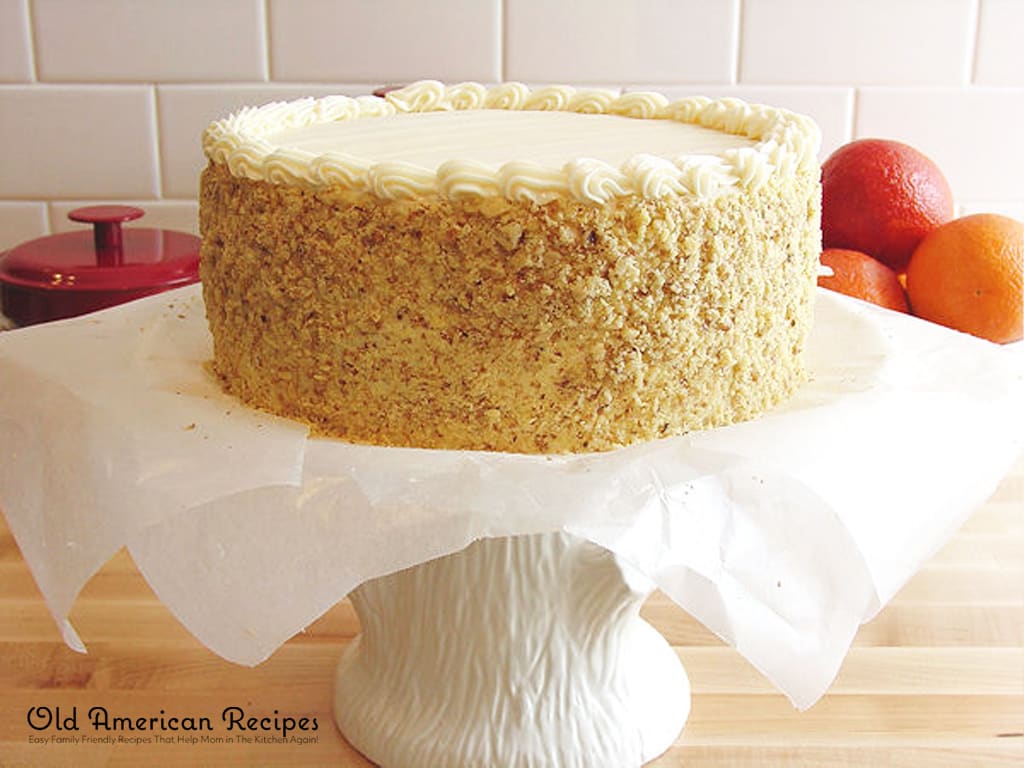
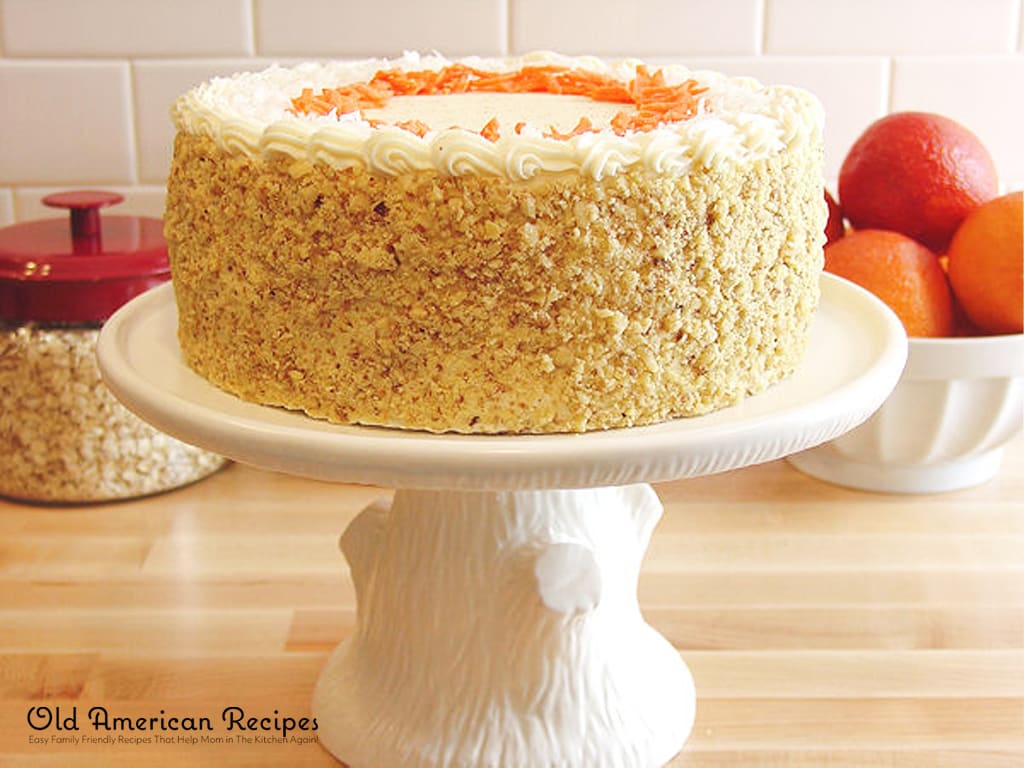
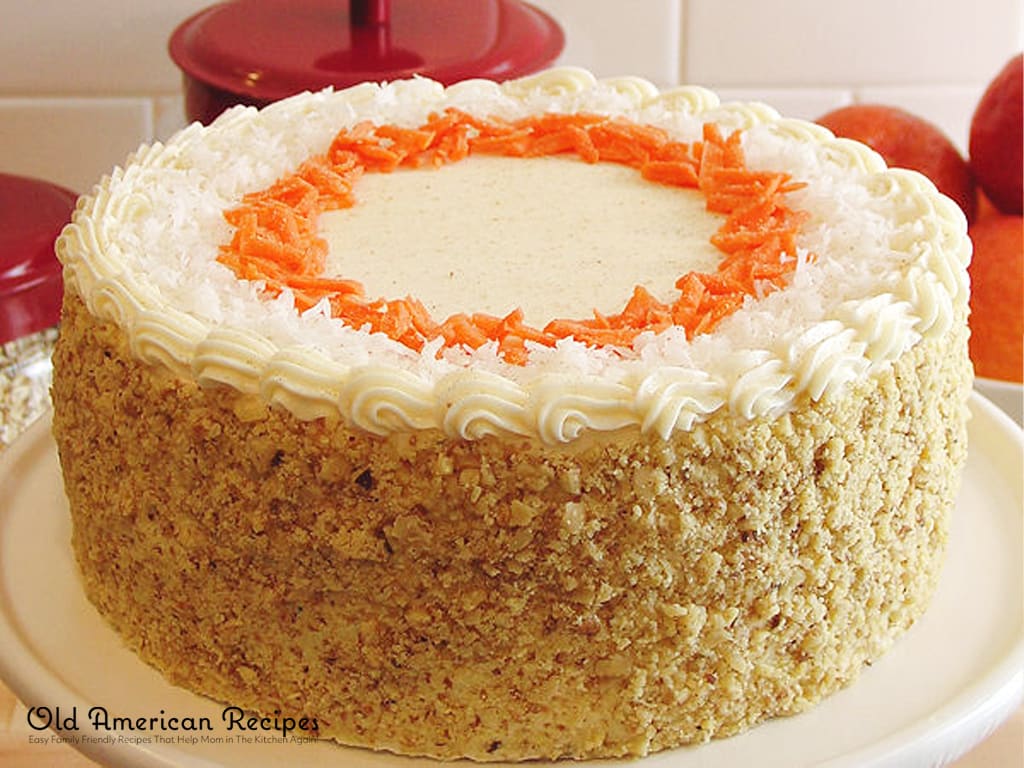
The taste and contrast in texture of the finely chopped walnuts marries nicely with the soft, buttery nature of the buttercream frosting for a welcome surprise while also balancing the sweetness. In addition, the nut coating, combined with the simple and easy-to-execute piping along the top circumference (using a no. 21 star tip), provides visual appeal making this incredibly moist and tasty cake, look “finished” and especially pretty—just as if it was prepared by a professional bakery.
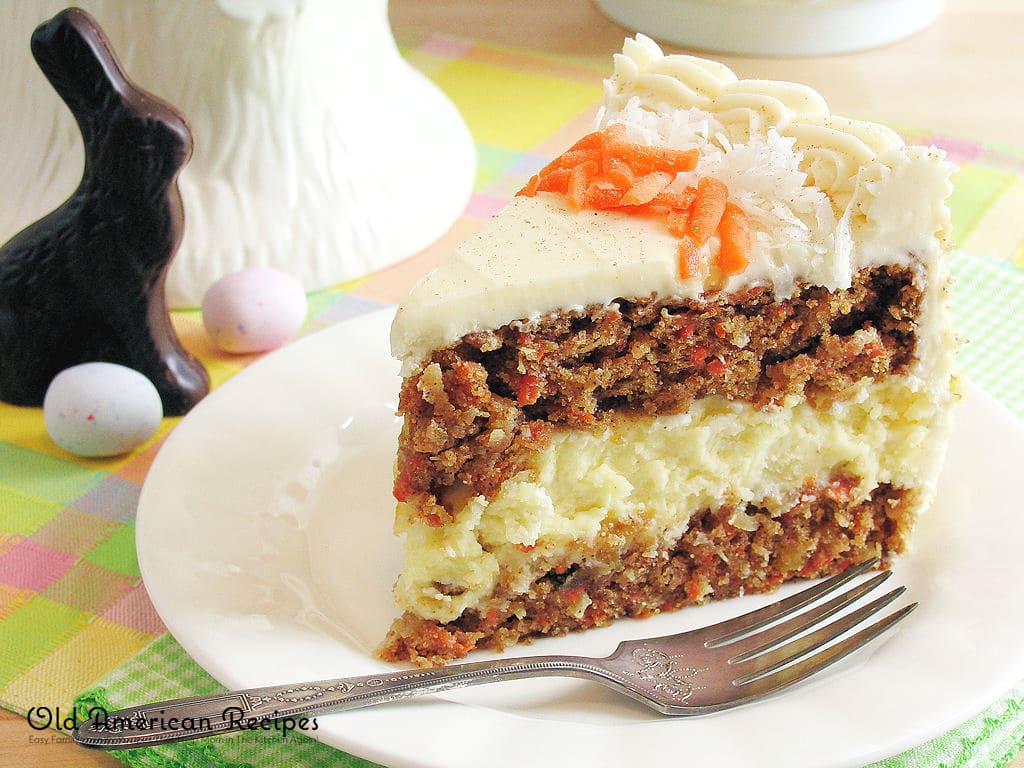
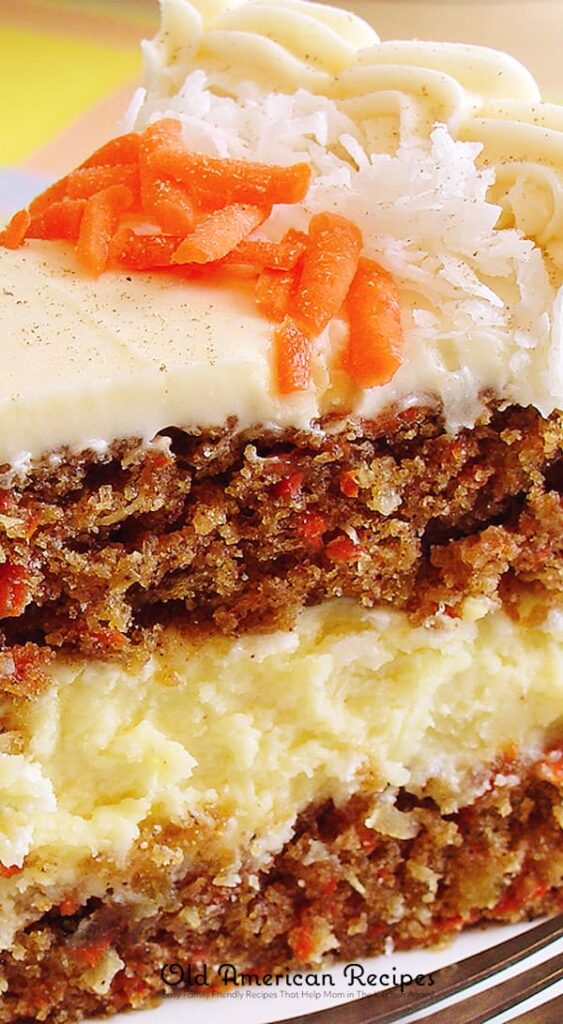
For a little pop of color and added texture, I like to sprinkle the perimeter of the cake’s top surface with freshly grated carrot and shredded sweetened coconut as well as a whisper of freshly grated nutmeg over the top.
Finally (of course!), the cheesecake layer is entirely an adaptation of Lori’s wonderful recipe. The cheesecake layer is very creamy and “light as a cloud”. This is due to the recipe calling for part heavy whipping cream and part sour cream. The heavy cream provides the levity for the cheesecake layer making it an ideal match to the light, moist and tender carrot cake.
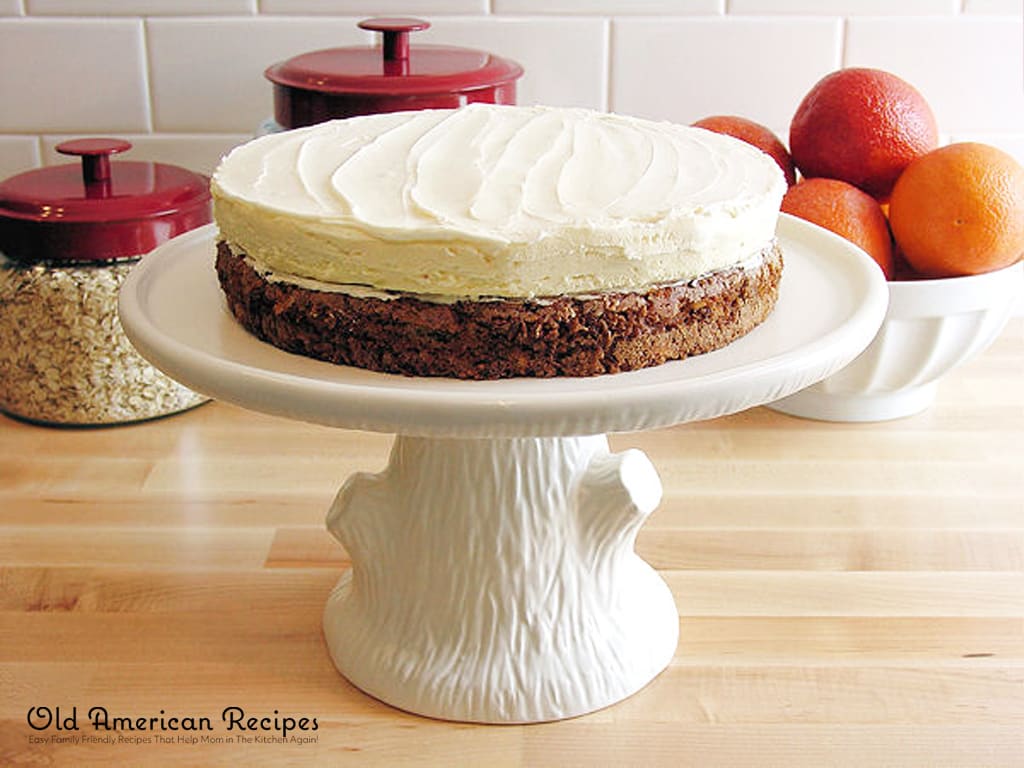
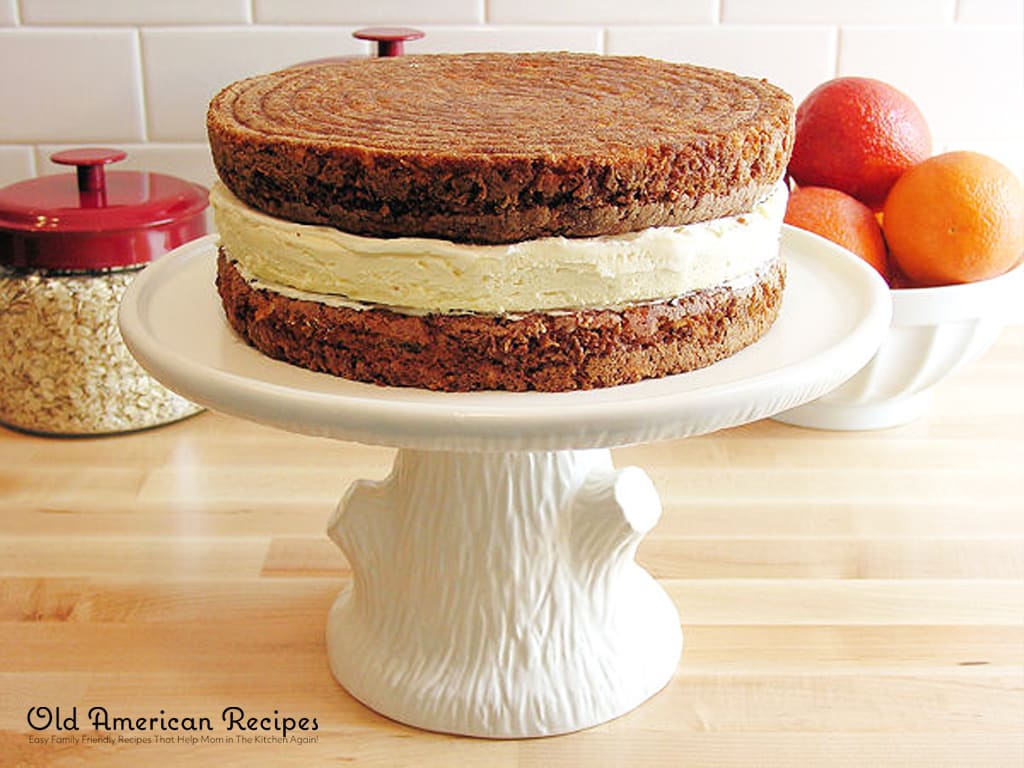
As a side note, I did see that Beantown Baker had made a beautiful Carrot Cake and Cheesecake Cake. I am not the first to feature one on a food blog. However, I did take note that Beantown Baker had used the Cook’s Illustrated recipe for carrot cake. I will say this, Cook’s Illustrated rarely disappoints. I mean, like never. However, I was not fond of their carrot cake recipe that uses oil (they have another that uses butter) when I tried it and prefer my recipe. Their recipe calls for more flour and oil (1/2 cup extra each), with the same amount of eggs and carrots, and less spice, which makes their cake dense, dry and less tender (a bit tough) as well as less interesting. Although my Carrot Cake Cheesecake Cake has a slightly squashed bottom cake layer, I will take that over dry and less tender and flavorful any day. To remedy the bottom squashed layer, I will retest this recipe and freeze the bottom cake layer so it will hold up to the frozen cheesecake layer once assembled. I will come back and share my results by an edit to this page and, perhaps, include additional photos as well.
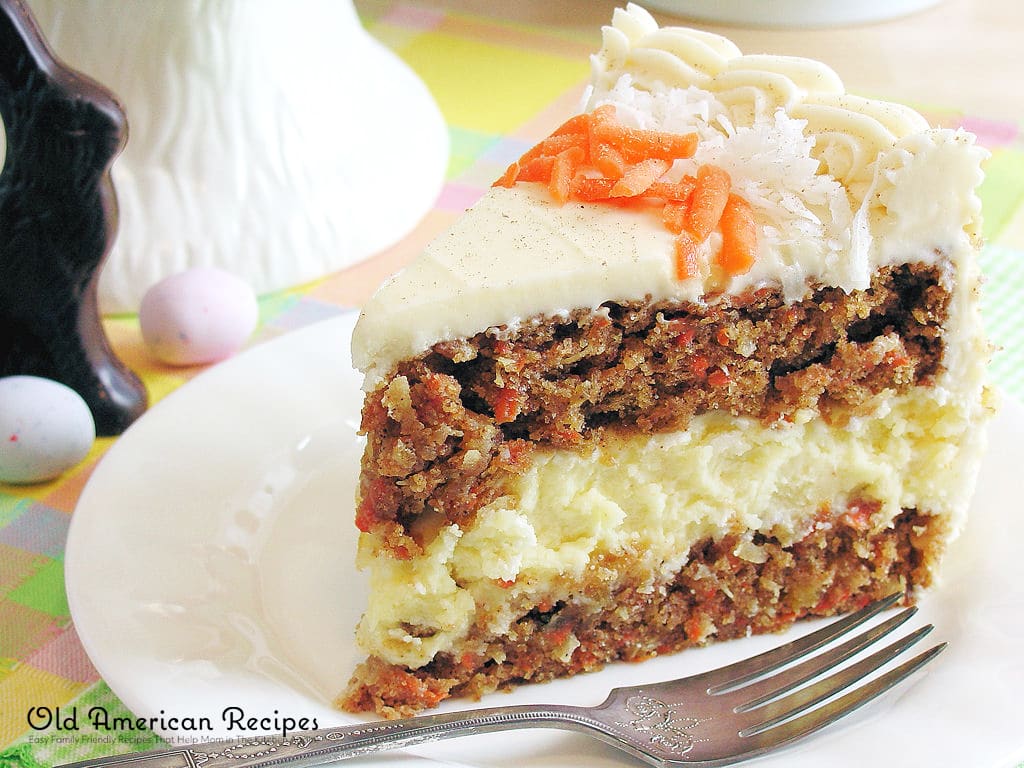
Your family, friends and guests will be so impressed they will beg you for the recipe or declare that henceforth you shall bake this cake for every gathering or special occasion!
Truly, I hope you, as well as Lori, will enjoy making, serving and tasting this lovely layered “cheesecake cake” along with family and friends—either for this Easter holiday or anytime. It is phenomenally good!
Q: So, is cheesecake a cake or a pie? For some fun, ask the question and discuss amongst your culinary friends to see what they have to say. What will your friends and family say? Will a huge argument ensue? Oh dear! Also, do an Internet search and see what you find. It is hilarious reading folks arguing over their strong opinions:“It’s a cake because of the name, CheeseCAKE!”“It’s a pie because there is a crust!”“Cheesecake is a cake because the early Greeks called it a cake and they invented it!”“It’s a custard pie and cheesecakes don’t rise like cakes do!”
Haha!!
For more fun reading, read this article at FineCooking.com: Cheesecake or Cheesepie?
Raging debate aside, we’re calling these baked beauties “cheesecake cakes”.

Because I love music (and I’m a complete “dorkette” as a writer), I like to sprinkle and weave song lyrics throughout my posts from time to time. For some reason, certain songs or films pop into my head when working on a certain recipe. While developing this “cheesecake cake”, the following 1980s song, by The Tubes, popped into my head. Here is a portion of the lyrics with notations in brackets relating to the cake:
She’s A Beauty – by The TubesS tep right up and don’t be shy,Because you will not believe your eyes. [Two cakes in one!]She’s right here behind the glass [Your computer screen, ha!]And you’re gonna like her, [Guaranteed. You really are!]’cause she’s got class.You can look inside another world.You get to talk to a pretty girl.She’s everything you dream about… [Seriously, carrot cake & cheesecake together!]But don’t fall in love… [Because, if you do, she can go right from your lips to your hips!]She’s a beauty —One in a million girls,She’s a beauty.Why would I lie?Why would I lie?
I would never lie. This cake? She’s a real beauty. Those who love carrot cake AND cheesecake? They’ll be totally smitten. If you don’t like carrot cake or cheesecake, what are you doing here reading all this anyway? Ha!
Why is our recipe for Carrot Cake Cheesecake Cake wicked good? It just is. Trust us here at Wicked Good Kitchen! Why would I lie?
xo,
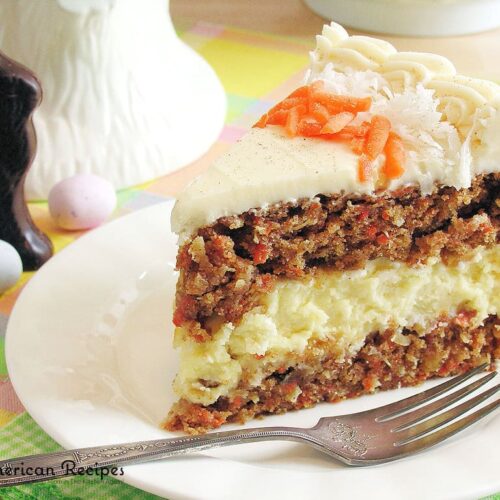
Carrot Cake Cheesecake Cake ~ Bakery Style
Equipment
- One 9-inch springform pan
- Two 9-inch by 1½- to 2-inch round cake pans
- Two insulated cake strips, such as Wilton® Small Bake Even Strips (Set of 2), helpful but not necessary
- Three wire cooling racks, with the third being used to flip cake layers right side up
- One 9-inch cardboard cake round, helpful but not necessary
- Cake Turntable, such as Ateco ®, helpful but not necessary
- Metal Angled or Offset Icing Spatula, such as Ateco® or Wilton®, helpful but not necessary
- Metal Icing Spatula, such as Ateco® or Wilton®, helpful but not necessary
- Wax paper, for lining cake plate for icing & nut coating, helpful but not necessary
- Piping bag, coupler and no. 21 star decorating tip, not necessary if no piping is desired
Ingredients
For the Cheesecake Layer
- 2 8-ounce packages (452 grams) cream cheese, such as Philadelphia®, softened to room temperature
- 2/3 cup about 132 grams granulated sugar
- 2 large eggs mine were 104 grams total w/o shells
- 1/3 cup 80 grams dairy sour cream, such as Daisy® Brand
- 1/3 cup 80 ml heavy whipping cream
- 1 teaspoon pure vanilla extract such as Nielsen-Massey®
- Butter or favorite cooking oil for greasing springform pan
For the Carrot Cake Layers
- 2 cups about 250 grams unbleached all-purpose flour, such as Gold Medal® or King Arthur Flour®, when using dip and sweep method, plus additional for dusting cake pans
- 1 cup about 200 grams granulated sugar
- 1 cup about 200 grams firmly packed light brown sugar
- 1 teaspoon 4.8 grams baking powder
- 1 teaspoon 4.8 grams baking soda
- 1¼ teaspoons 6 grams kosher salt (or 1 teaspoon sea salt or table salt)
- 1½ teaspoons ground cinnamon such as McCormick®
- ½ teaspoon ground allspice such as McCormick®
- ¼ teaspoon freshly grated whole nutmeg
- 1 cup about 220 grams organic cold-pressed sunflower oil (or favorite nut or vegetable oil)
- 4 large eggs mine were 204 grams total w/o shells
- 2 teaspoons pure vanilla extract such as Nielsen-Massey®
- 3 cups about 300 grams grated carrot, about 4 large carrots
- ¾ cup 90 grams shredded sweetened coconut, such as Baker’s® Angel Flake®
- ½ cup 122 grams chopped fresh pineapple or drained crushed pineapple, such as Dole®, from an 8-ounce can
- Butter or favorite cooking oil for greasing cake pans
For the Cream Cheese Buttercream
- 1 8-ounce package (226 grams) cream cheese, such as Philadelphia®, softened
- 1 cup 2 sticks or 226 grams unsalted butter, softened (or 1 stick salted & 1 stick unsalted)
- 2½ teaspoons pure vanilla extract such as Nielsen-Massey®
- 4 to 4½ cups 480 to 540 grams confectioners’ sugar, sifted (spooned into cup, leveled off & then sifted)
For the Optional Cake Adornments
- 1¼ cups about 138 grams finely chopped walnuts, to decorate sides of cake
- Grated carrot to decorate top of cake
- Shredded sweetened coconut such as Baker’s® Angel Flake®, to decorate top of cake
- Freshly grated whole nutmeg to dust top of cake
Instructions
- Prepare the Cheesecake Layer: Arrange oven racks to lower and middle positions and preheat oven to 325ºF. Place a 9×13-inch baking dish or pan on the lower rack of oven and fill it halfway with water. The middle rack should be just above the pan of water which will provide added moisture to help prevent the cheesecake from cracking during baking. Generously grease springform pan with butter and set aside.
- Using an electric stand mixer fitted with paddle attachment, or handheld mixer and large bowl, beat the cream cheese until creamy. Gradually add sugar and beat until fully incorporated, scraping down the sides of bowl as necessary with rubber spatula. Add the eggs, one at a time, blending well after each addition. Add the sour cream, heavy cream and vanilla; mix until fully incorporated and smooth. Using rubber spatula, scrape and pour batter into prepared pan. Place springform pan on middle rack in preheated oven above the pan of water.
- Bake in preheated oven until cheesecake is just set in center and no longer jiggles, about 40 to 45 minutes. Remove cheesecake from oven and place on wire cooling rack. Immediately, run thin metal icing spatula around edge of pan to loosen cheesecake from sides of pan. This will prevent any surface cracking as the cheesecake cools and contracts. Allow cheesecake to cool completely, at least 1 hour. Once the cheesecake has cooled, place it (while still in the springform pan) into the freezer, covered with plastic wrap. Let the cheesecake freeze completely, about 4 to 5 hours or overnight.
- Prepare the Carrot Cake Layers: Arrange oven rack in center of oven and preheat oven to 325º F. Grease two 9-inch round cake pans with butter or oil. Line bottoms with parchment or wax paper circles. Grease paper linings and dust lined pans with flour, tapping out the excess.
- Using an electric stand mixer fitted with paddle attachment, or handheld mixer and large bowl, mix flour, sugars, baking powder, baking soda, salt and spices on low speed (stir) until well combined. Add oil, eggs and vanilla; mix on low speed (stir), scraping down the sides of bowl as necessary with rubber spatula. Beat on medium speed until well blended, about 2 minutes. Fold in carrots, coconut and pineapple and mix until thoroughly combined. Using rubber spatula, scrape and pour batter into prepared pans, dividing evenly (about 3 cups of batter per cake pan). Smooth tops evenly with rubber spatula.
- Bake in center of preheated oven until a toothpick inserted into center comes out clean, about 40 to 45 minutes. Cool cakes in pans on wire racks for 10 minutes. Run thin metal spatula around edges of each cake to loosen, then invert onto wire rack and peel away parchment or wax paper. Turn right side up onto wire racks (using an additional rack to flip); cool completely.
- Prepare the Cream Cheese Buttercream: Using an electric stand mixer fitted with paddle attachment, or handheld mixer and large bowl, beat cream cheese, butter and vanilla on medium speed. Gradually increase mixer speed to high and continue beating until light and fluffy, scraping down the sides of bowl as necessary with rubber spatula. Gradually add 4 cups confectioners’ sugar, beating on low speed (stir), until well combined. Add additional confectioners’ sugar until desired consistency for spreading and level of sweetness is reached. Beat on high speed until well combined and smooth, about 1 minute.
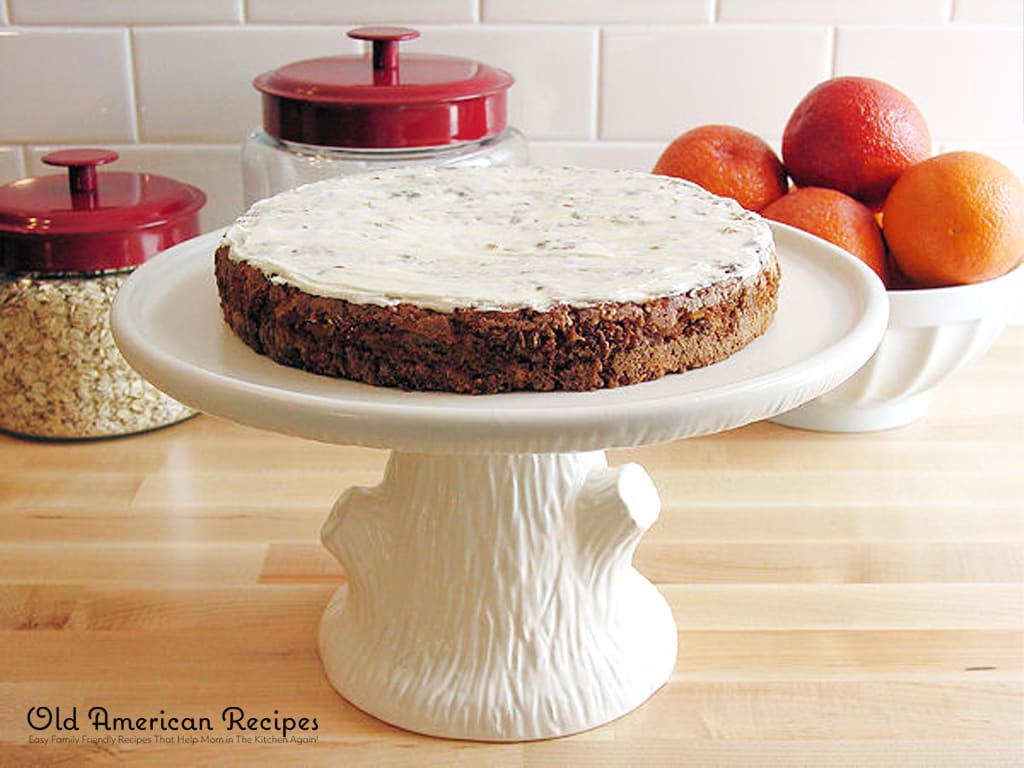
- Assemble & Ice the Cake: Place one cake layer onto serving plate, platter or cake pedestal or stand in the center. With icing spatula, spread about 3 tablespoons frosting evenly over top of cake. Remove cheesecake layer from the freezer. Loosen cheesecake from sides of pan by running thin metal spatula around the inside rim. Unmold cheesecake by removing sides of pan. Carefully, slide a hot knife (warmed under hot running water and wiped dry) under the cheesecake, and slide knife around the circumference, to release it from bottom of springform pan. (I used my chef’s knife for this task. However, a long serrated knife will work as well. Be careful!)
- If necessary, trim cheesecake to match the size of the cake layers. This is done by measuring the cheesecake layer against the cake layers on a cutting board. (I did this by using a sheet of wax paper between the cheesecake layer and the remaining carrot cake layer on cutting board.) If the cheesecake layer is slightly larger in circumference, use a knife to carefully shave away some of the outer edge of the frozen cheesecake to match the outer edges of the cakes until all sides are even or flush. (When trimming the cheesecake layer, I lifted the wax paper upward to take a peek and then sliced the cheesecake using my chef’s knife.)
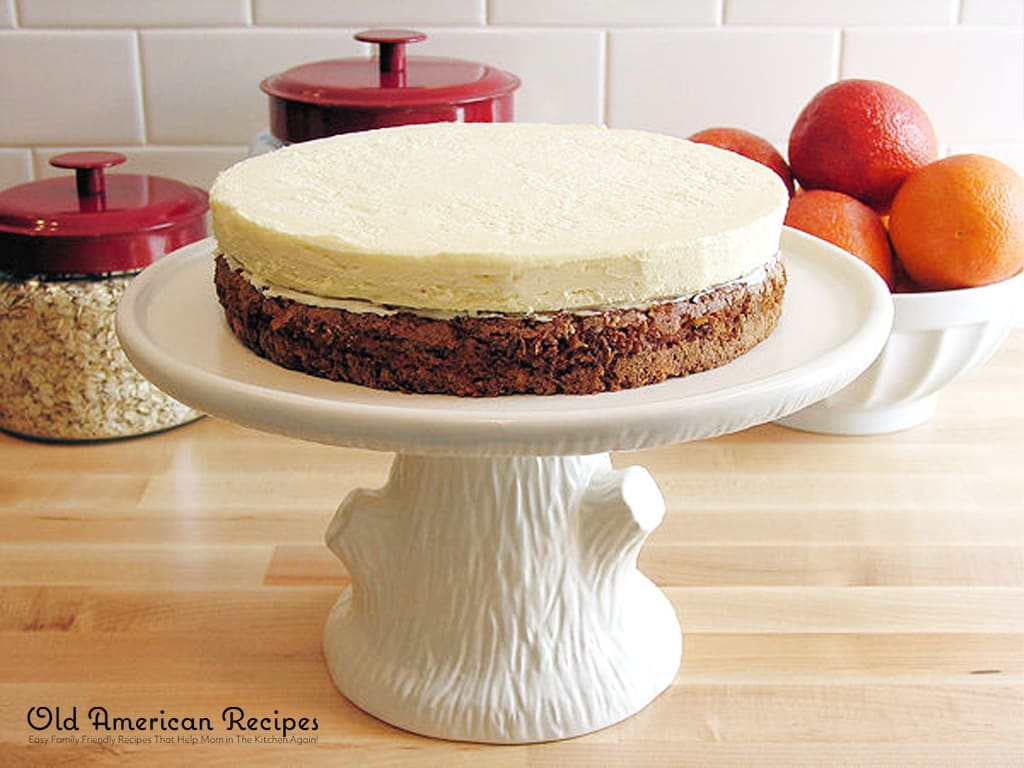
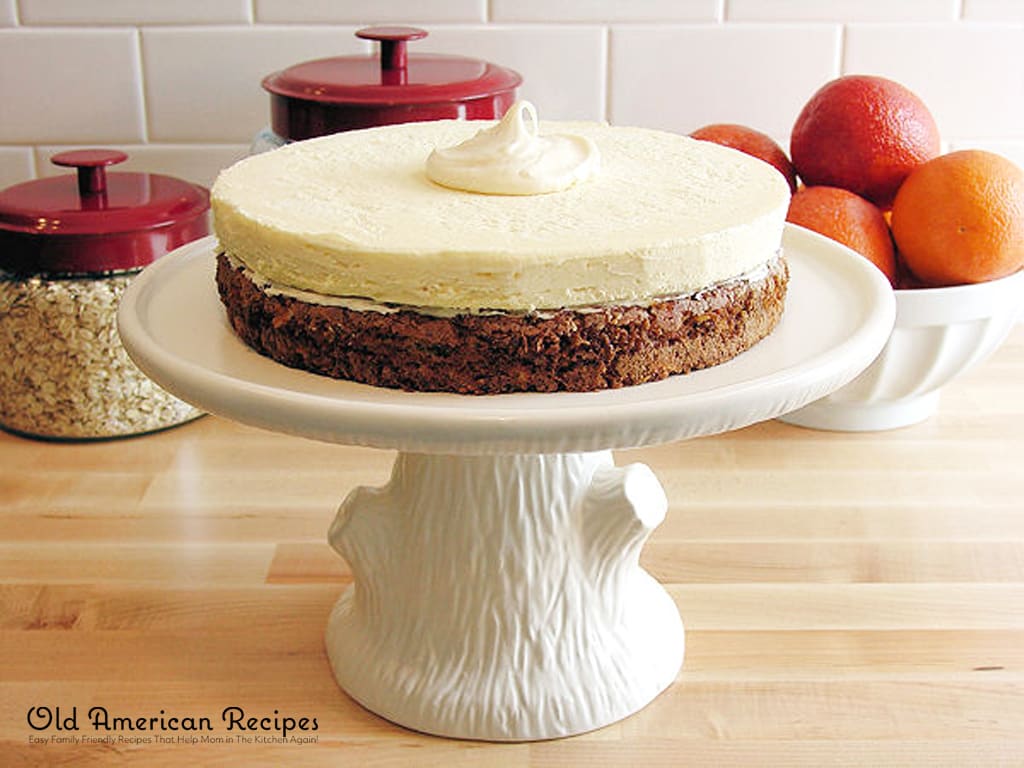
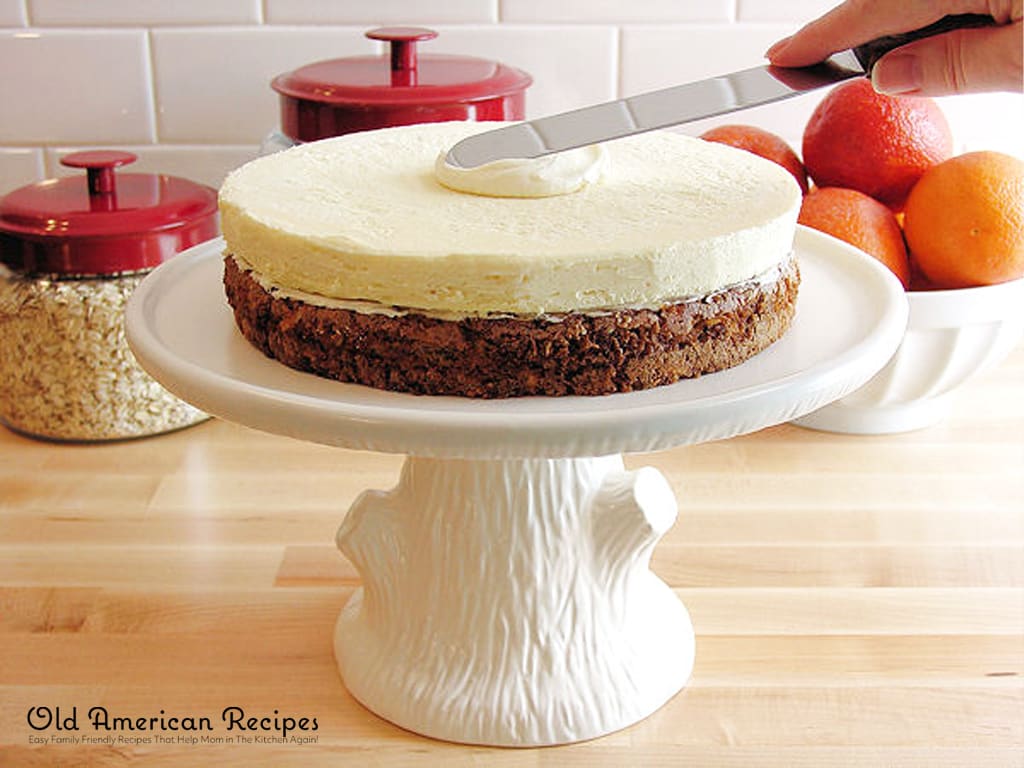
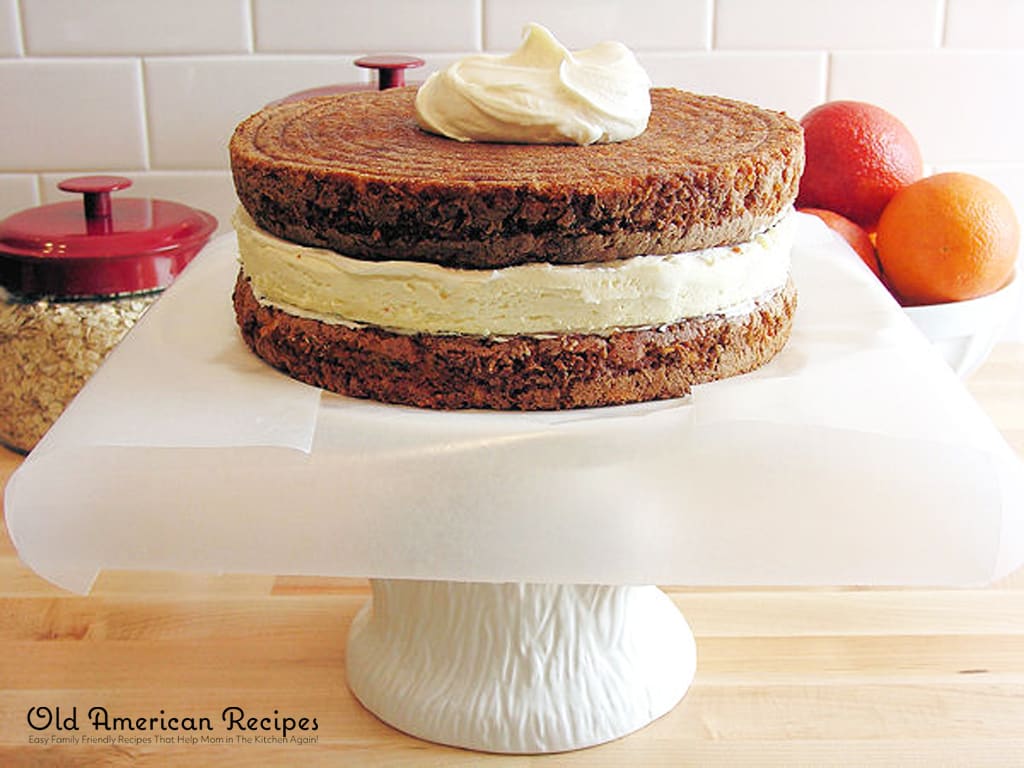
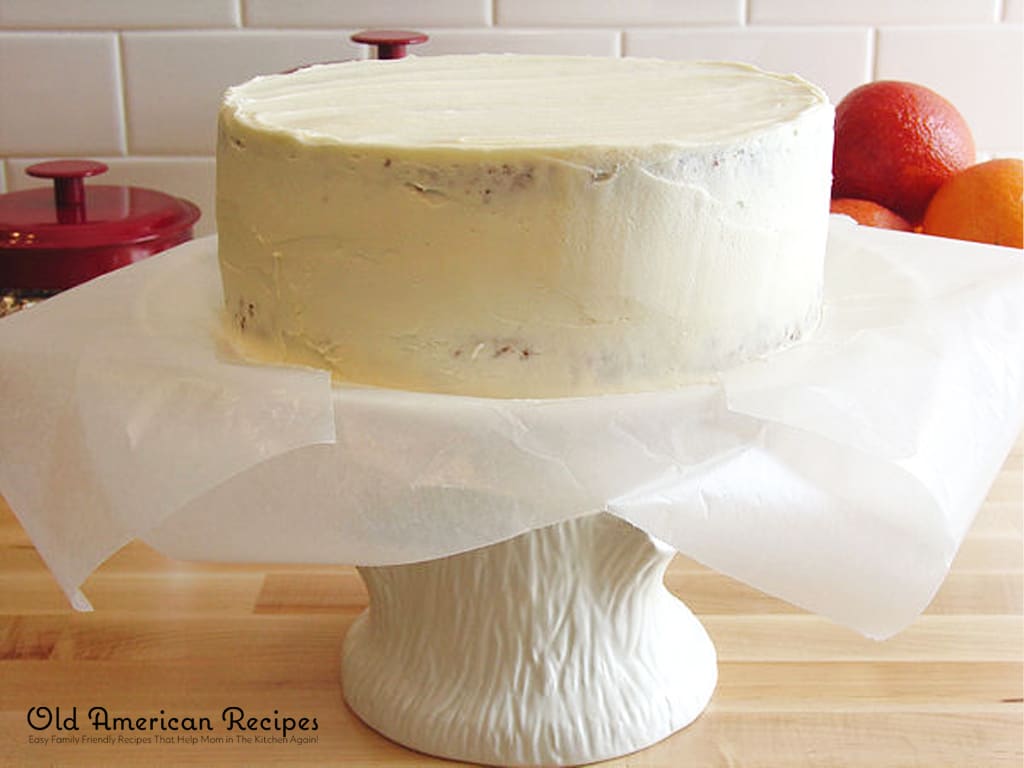
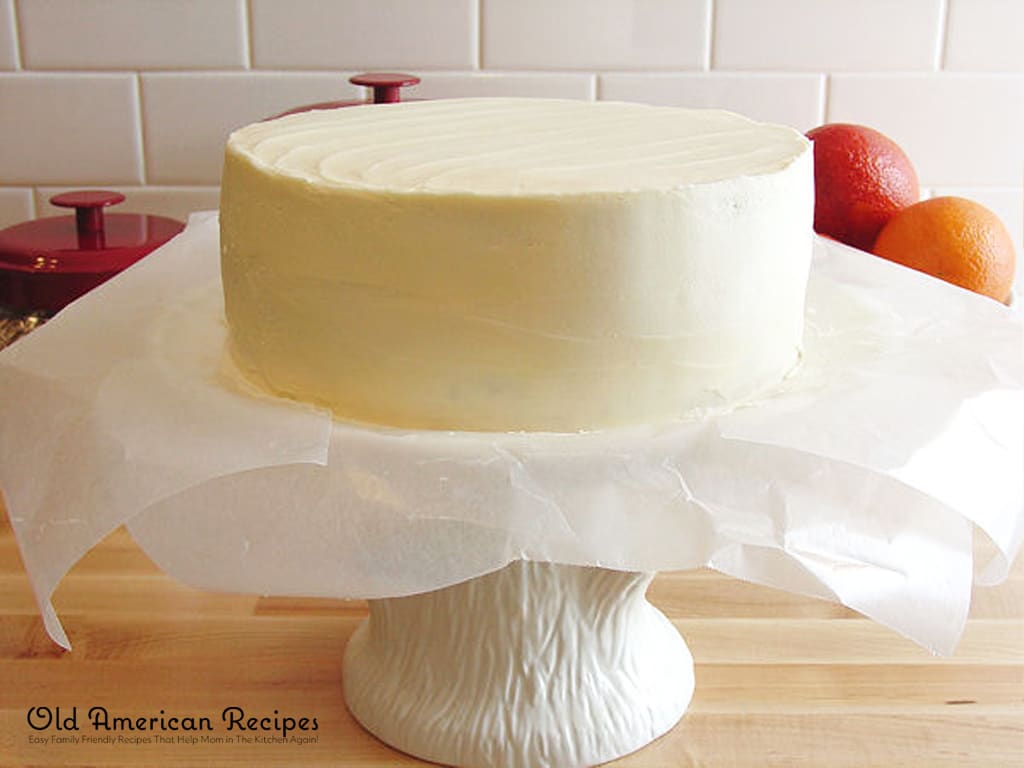
- Place cheesecake layer on top of the first cake layer. Spread 3 tablespoons frosting over top of cheesecake. Place second cake layer on top of the cheesecake layer. Spread frosting over top and sides of cake neatly and evenly. You may do a crumb coat and then chill the cake for 30 to 45 minutes before completing the icing, if desired. However, if decorating the sides of the cake with nuts, you can skip the crumb coat because the nuts will hide any crumbs showing.
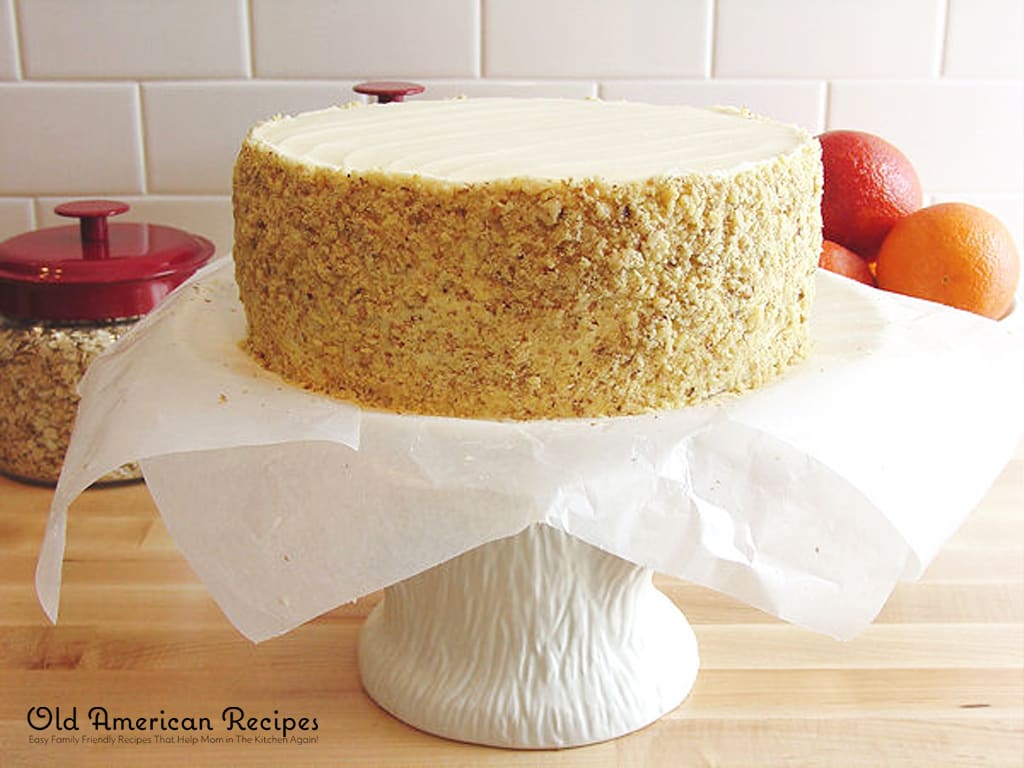
- To Decorate the Cake: If decorating the cake, gently press finely chopped walnuts onto sides of cake. This is easy to do if the cake layers are assembled onto a cardboard cake round. Simply hold and balance the cake on the cake round in one hand and use free hand to press the nuts into the sides of the cake. Use a sheet of parchment or wax paper, or even a sheet pan, to catch the excess.
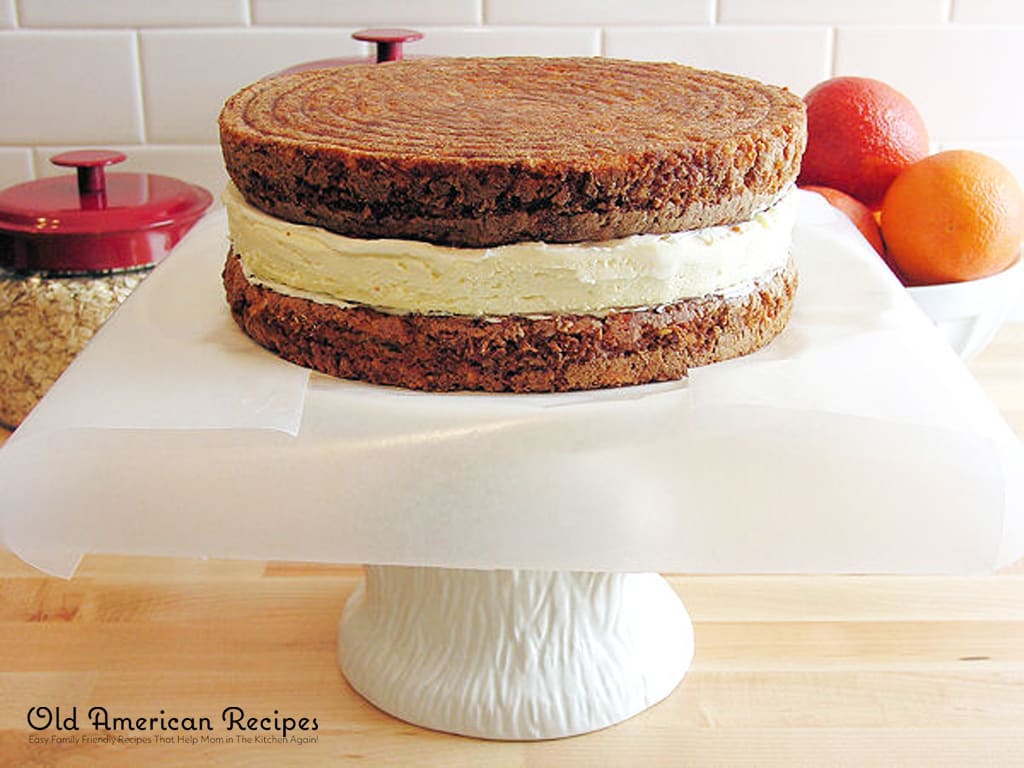
- If not using a cardboard cake round to hold the cake and press nuts into sides of cake, it is still easy to do. Simply line your cake plate or pedestal with four 4- to 5-inch wide strips of wax paper and use hand to press nuts onto sides of cake. The wax paper strips will catch the nuts that fall away. Turn the cake as you work (a cake turntable is helpful, but not necessary) all the way around. Once finished, scoop away the fallen nuts with spoon and pull the wax paper sheets away leaving a clean cake plate or pedestal.
- Pipe a simple or fancy border with your favorite tip (I used a no. 21 star tip) around the perimeter of the top layer. Sprinkle shredded coconut in a circle on top of the cake, just inside the piped border. Then follow with freshly grated carrot just inside the perimeter of the coconut. Dust the top of the cake with freshly grated whole nutmeg.
- To Store the Cake: Keep cake covered and stored in refrigerator until ready to slice and serve.
- To Slice & Serve the Cake: Slice the chilled cake with a thin knife that has been dipped in hot water. Wipe knife clean after each cut. Use a cake server to transfer slices of cake to dessert plates. Serve immediately.
Notes
Prepare cheesecake layer on the day or night before the cake layers. This will make for less time in the kitchen the day you bake and assemble the cake.
When measuring all-purpose flour for this recipe, aerate your flour by stirring it then use the dip and sweep method. Dip your 1-cup dry measuring cup into the flour and scoop lightly, then use a thin metal icing spatula or straight edge of knife to sweep. This way, you should get approximately 125 grams of flour per cup measure, or 250 grams of flour for the carrot cake layers.
Use insulated cake strips such as those by Wilton® to ensure cake layers bake evenly. If you do not have insulated cake strips, you can always trim your cake layers so the top of each is level.
If not using immediately, the buttercream can be refrigerated for up to 2 to 3 days in an airtight container. Before using, bring to room temperature before beating smooth again.
After frosting the layered cake it is best to chill it until firm, about 1 to 2 hours. Chilling, before slicing the cake, will yield neater cake slices for a better plated presentation. Options: To Prepare 8-inch Round 3-Layer Cake (with carrot cake batter only): Prepare three 8-inch round cake pans as indicated above. Using rubber spatula, scrape and pour batter into prepared pans, dividing evenly (about 2 cups of batter per cake pan). Smooth tops evenly with rubber spatula. Bake in center of preheated oven until a toothpick inserted into center comes out clean, about 35 minutes.
To Prepare Cupcakes (with carrot cake batter only): Arrange oven rack in center of oven and preheat oven to 325º F. Line standard 12-cup muffin pan with standard paper bake cups. Divide batter evenly among 24 muffin cups (baked in two batches), filling each cup ¾ full. Bake in preheated oven until a toothpick inserted into center of a cupcake comes out clean, about 24 minutes. Cool cupcakes in muffin pan on wire rack for 10 minutes. Transfer baked cupcakes to wire racks to cool completely, about 1 hour. Yield: Makes 24 cupcakes.
To Prepare Gluten-free: Use your favorite all-purpose gluten-free flour blend, measured cup for cup or by grams, in place of the all-purpose wheat flour called for in the Carrot Cake Layers recipe.

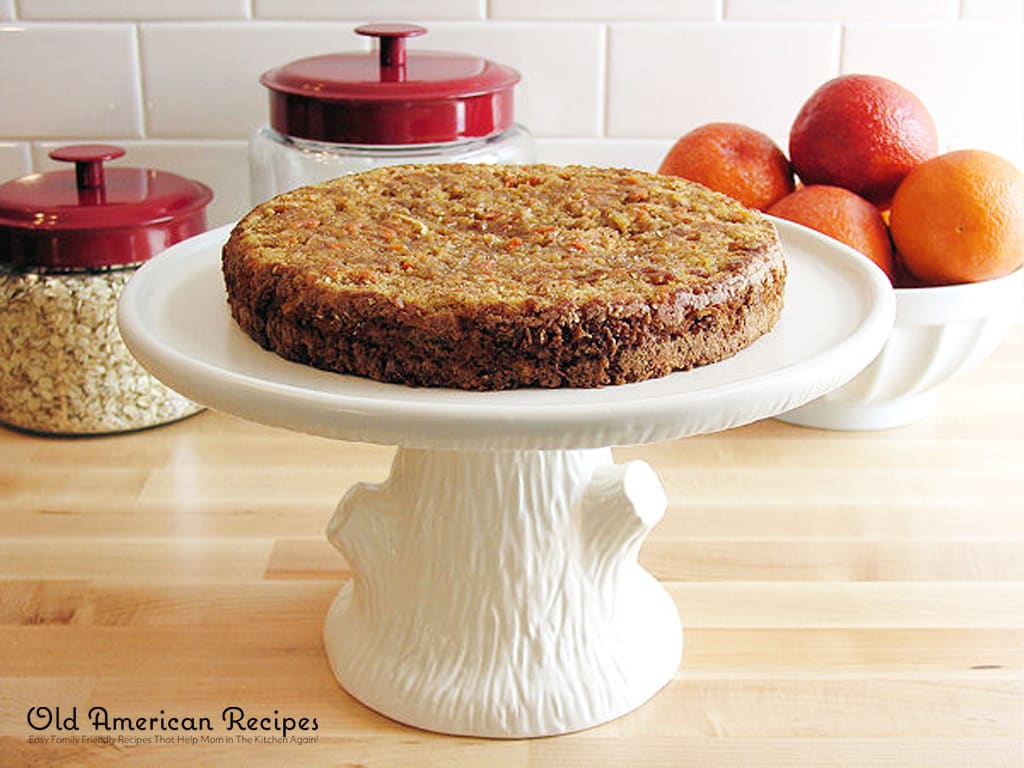
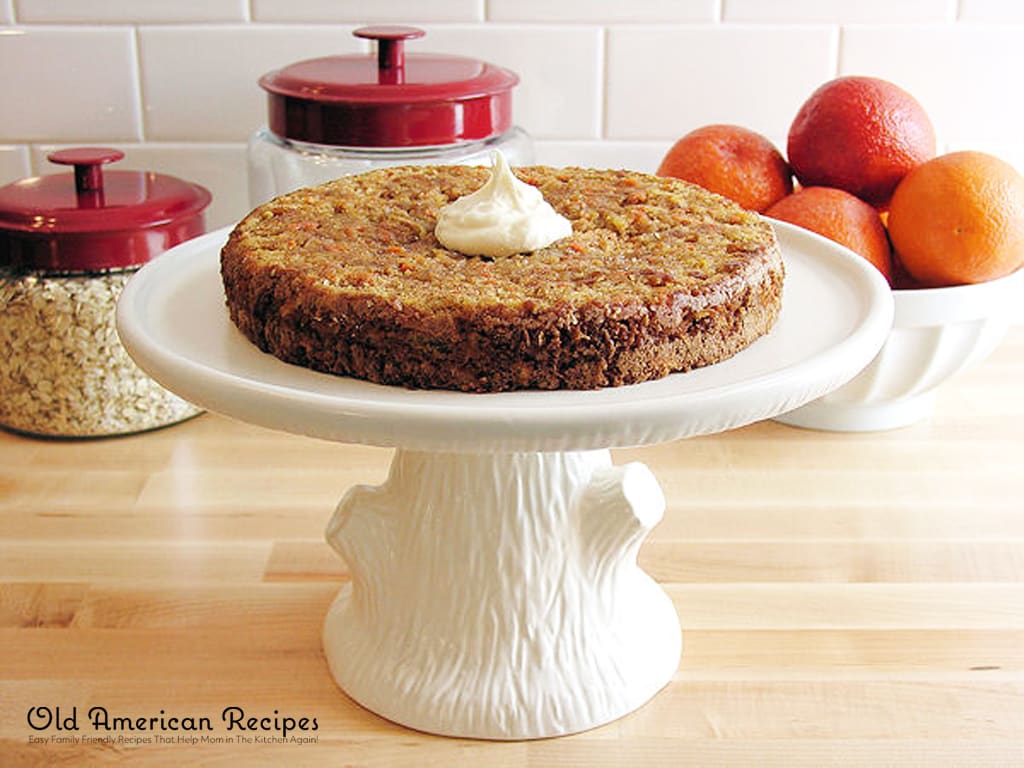
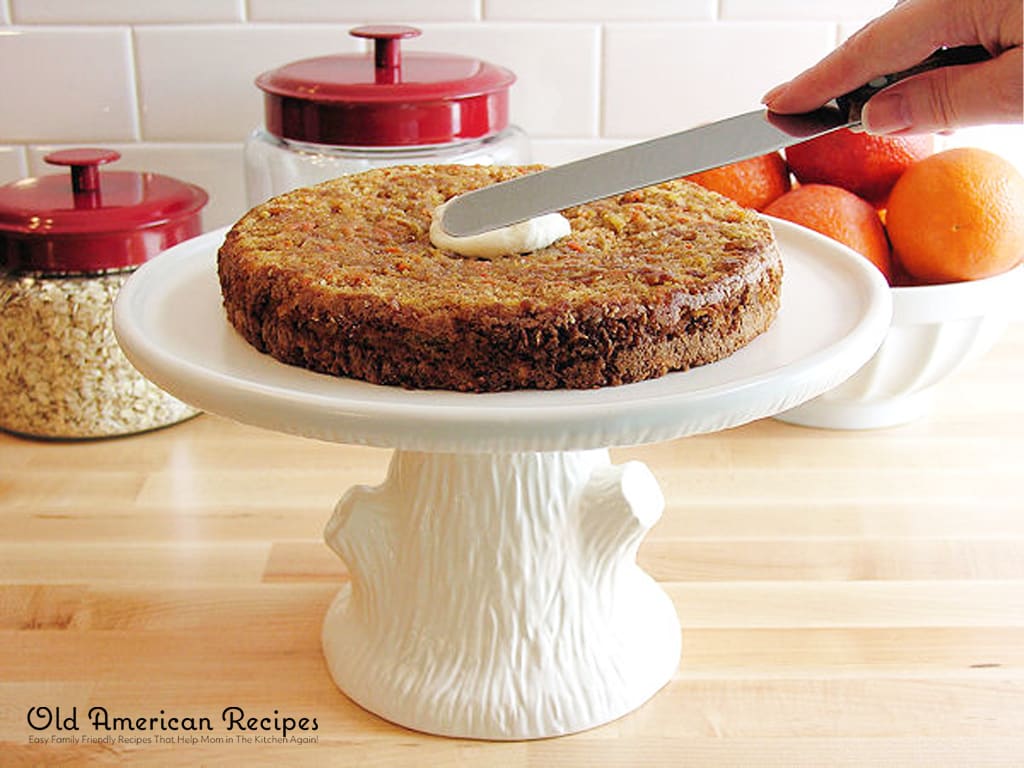

Definitely one of the best cakes I’ve ever made! Everyone loves it !