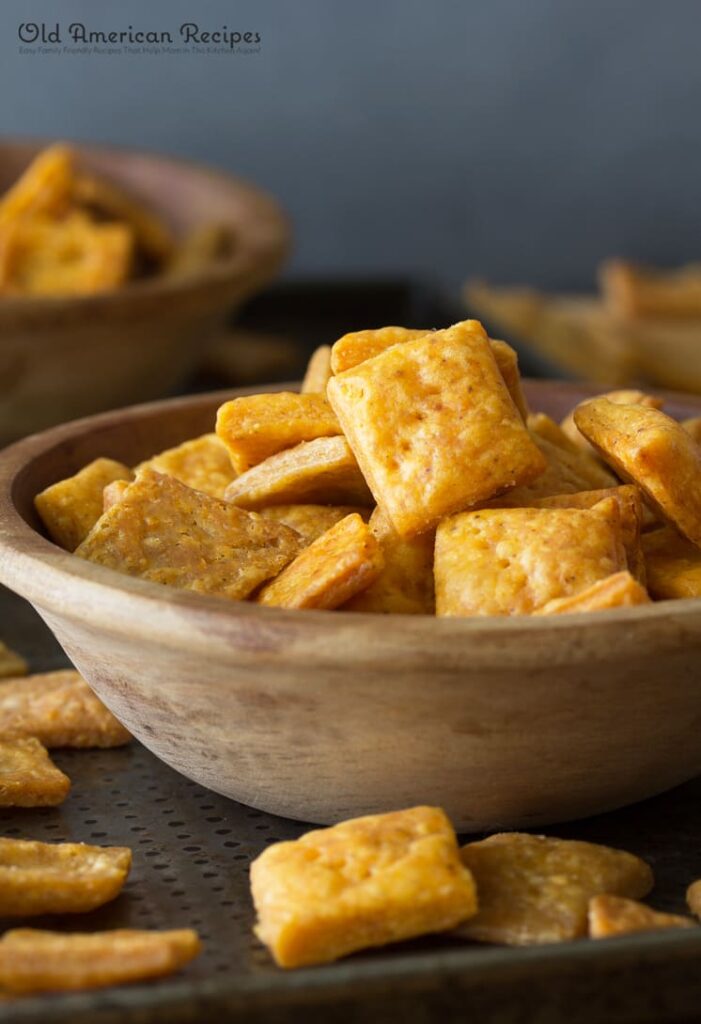
Cheez. Not cheese. Cheez. I admit it, I love it. Yes, as much as I enjoy the local, the seasonal, the artisanal and the unprocessed, I’m no food snob. I fully embrace and celebrate my unending love of–in fact, my need for junk food. So gimme cheez. Doodles, Cheetos, Nips, Cheez-its… A bag of nacho cheese Doritos? I’d trip old ladies and make small children cry to get to it first. As a kid, I was forever sneaking into the kitchen to at night so I could hoard the goodies for myself, and always, when confronted–mostly by my dad, from whom I inherited the junk food gene–denied any knowledge of the missing snackies, despite the tell-tale, possibly radioactive orange Doodle dust on my fingertips and mouth. Who, ME?!? Fond memories, indeed, and my love of cheese of dubious origin continues to this day, decades later. (I do, however, draw the line at cheez-in-a-can and the ABOMINATION that is fat-free cheese. I have SOME pride, people.)
Of course, we (meaning mature–HA!–adults) are supposed to be very health conscious these days and strive for better eating habits, plus keep an eye on pesky things like cholesterol and trans-fats and carbs and whatnot. So I’m forever on the look-out for healthier versions my junk foods faves. Truth be told, though, most of them are bad. And I mean bad-bad, not good-bad or ironically bad. Just bad. Like healthy Twinkies, an oxymoron if ever I heard one. Some things are just not meant to be messed with.
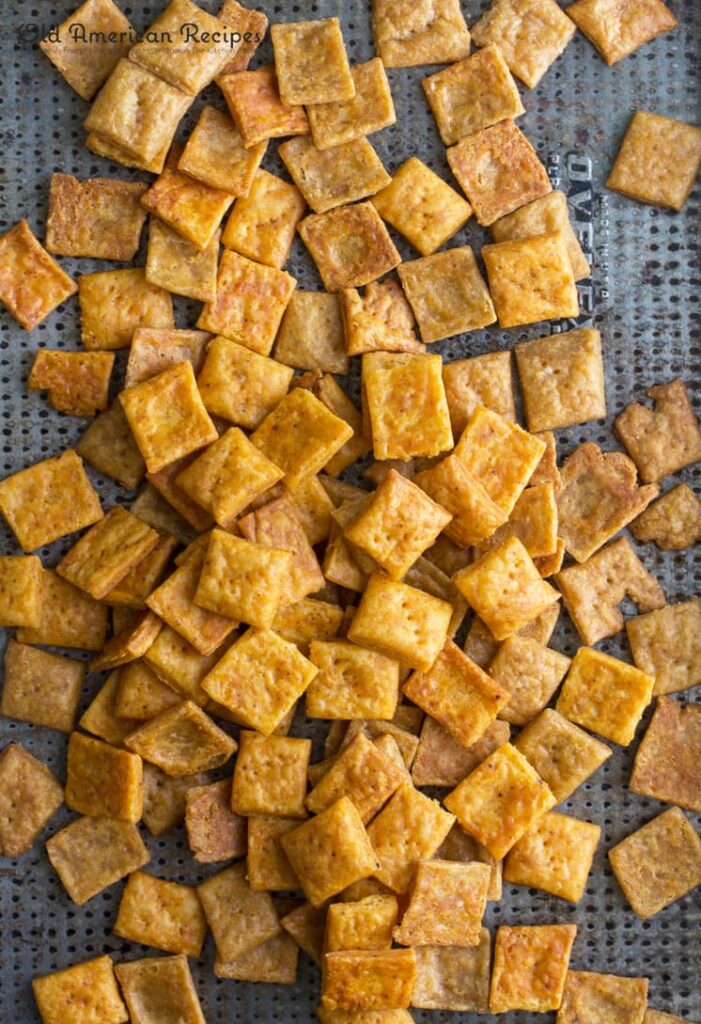
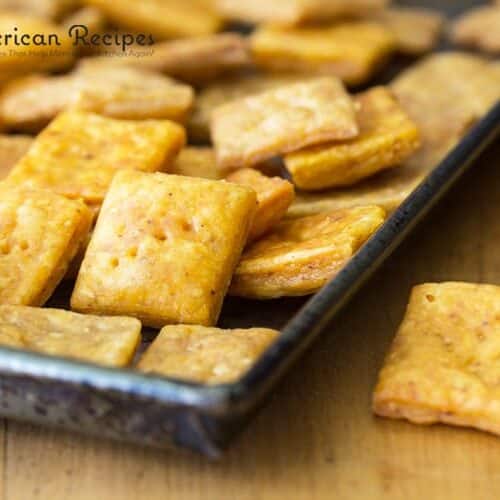
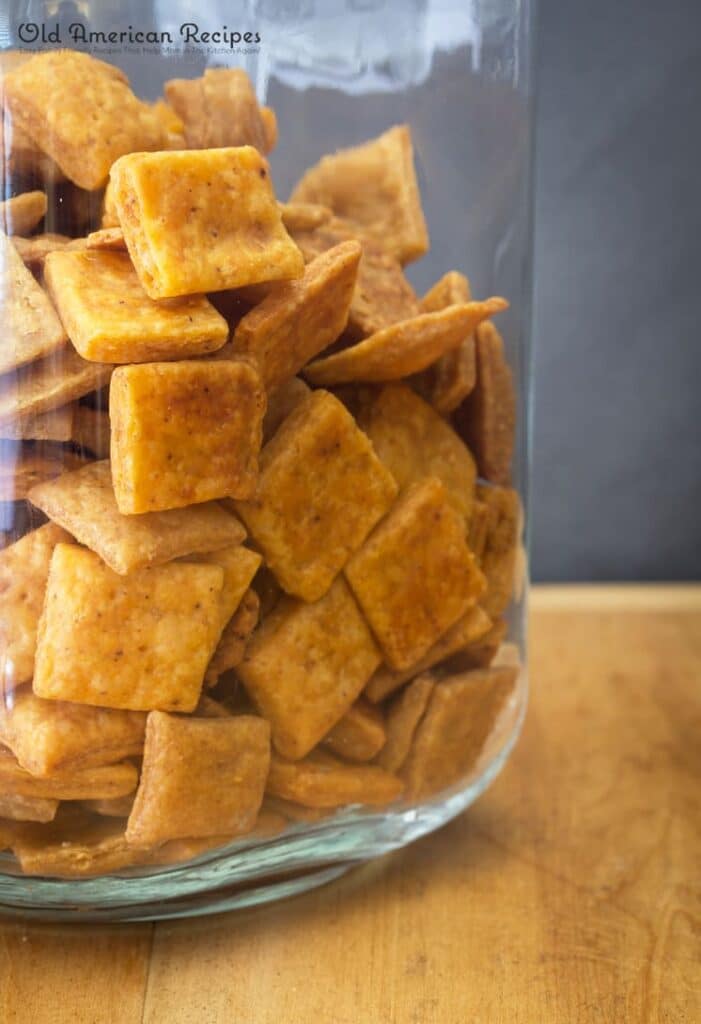
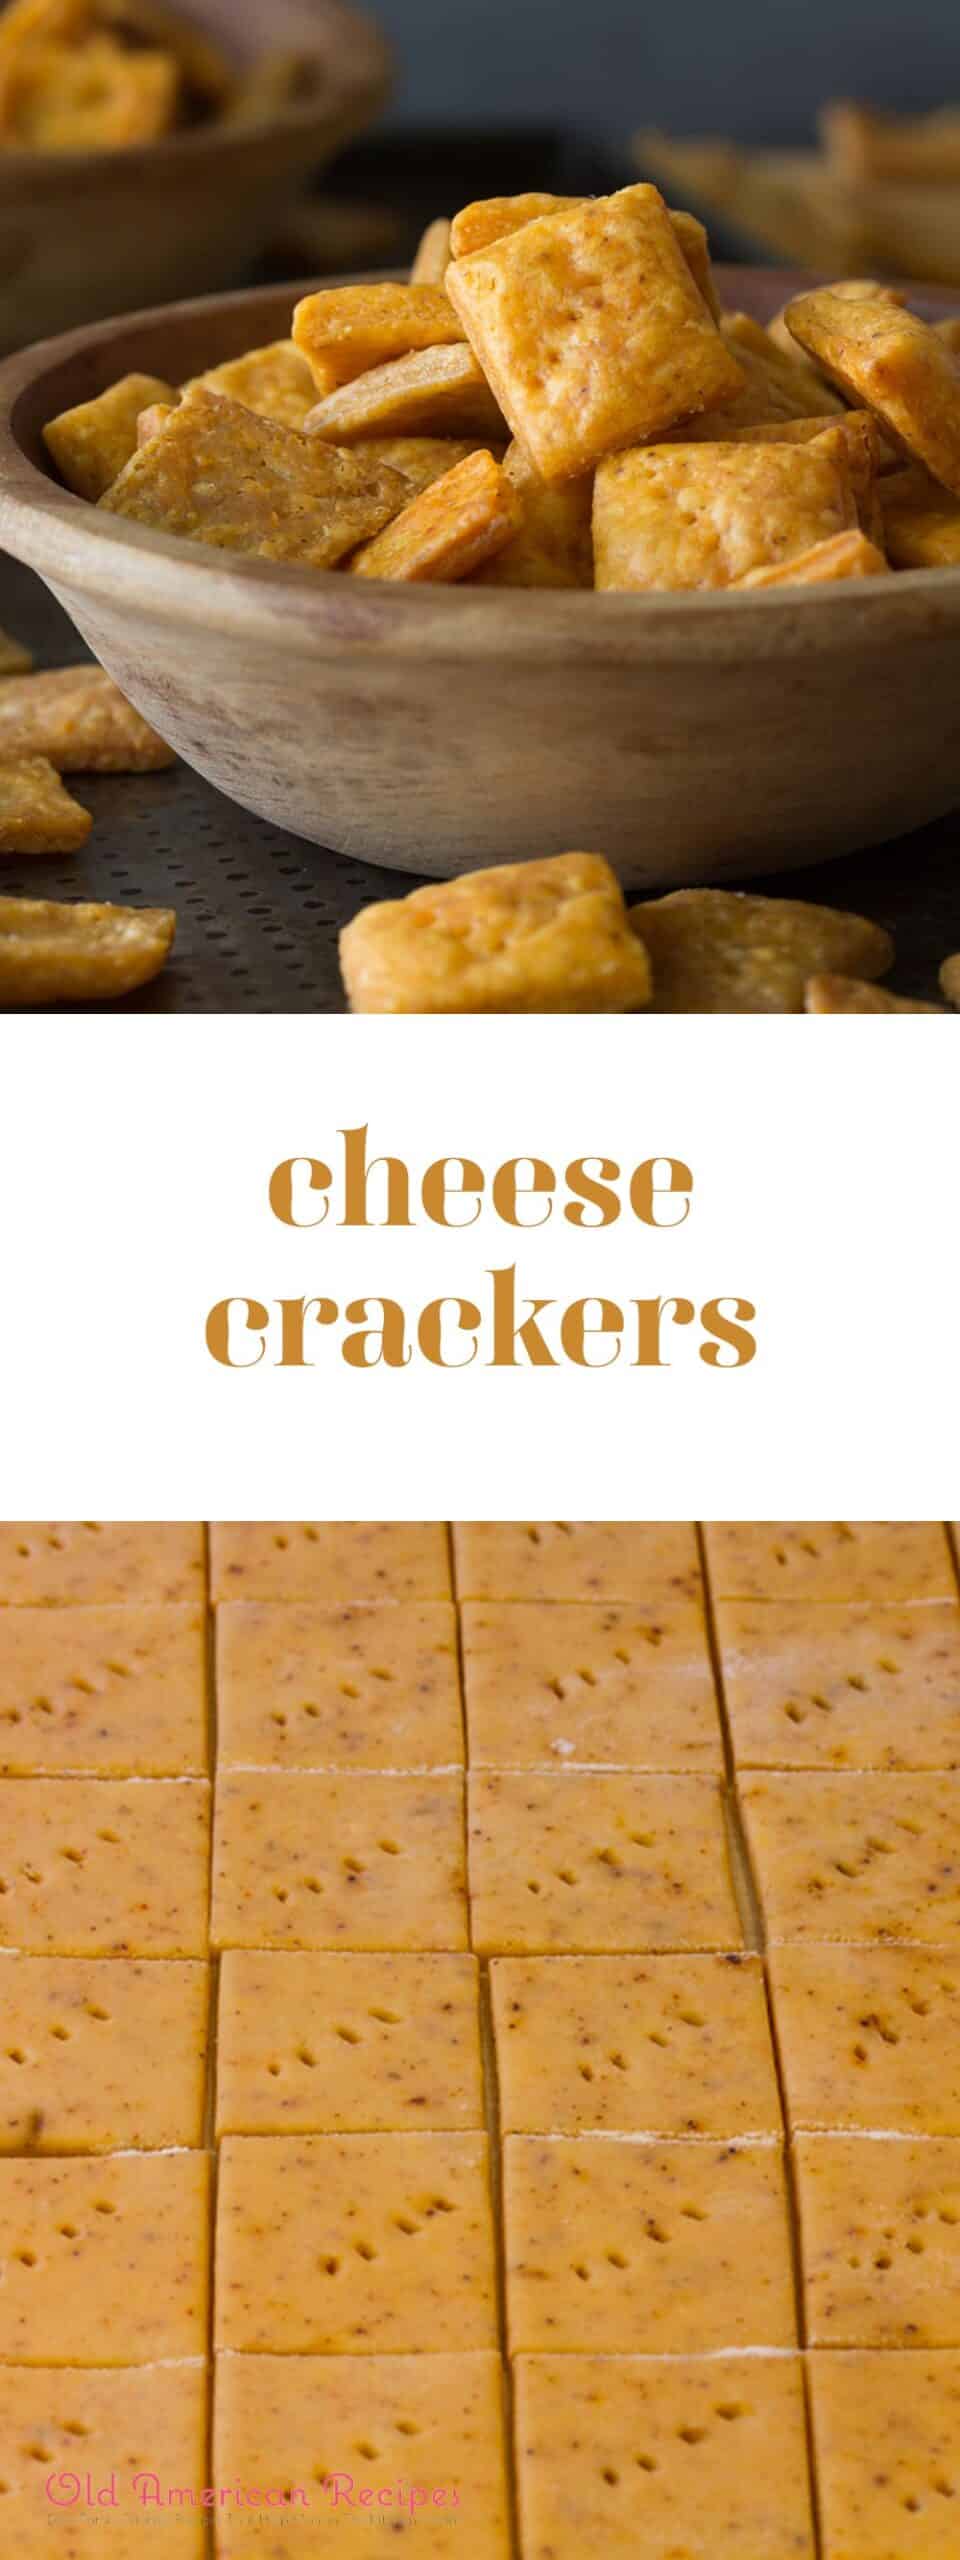
So I didn’t have terribly high hopes for homemade Cheez-Its/Nips. Surprise! They’re actually quite good, the main reason being that they’re not really, um…healthy. At least, not unless you consider that the smidge of whole wheat flour I used in one batch makes up for the half a stick of butter the recipe calls for. But let’s pretend it does, shall we? Or just focus on the fact that they’re homemade, which is always much healthier than store-bought. Right? Right. But this is all about cheese and it about abounds in these crackers. Now I’ll be honest with you. Cheez-Its/Nips they’re not. The real thing has a kind of dry crunchiness that can’t be duplicated here. These crackers have a bit of puff to them and while they do get a somewhat crispy, it’s fleeting. You really have to eat them right away otherwise they start to lose it. But the cheesy flavor is there and if you look at them more as an “inspired by” rather than a clone, you won’t be disappointed.
It’s a very simple recipe that comes together in less than five minutes in the food processor. I made two batches, one with whole wheat flour and one with chili spices, and both with a mix of sharp and extra sharp cheddar. The whole wheat version definitely didn’t get as crispy as the one with white flour, nor did it puff up as much. Both versions, though, took much longer to bake than the recipe(s) called for–nearly 20 minutes. And both rolled out very easily, no sticking, no tearing. They smelled fab while baking and–BEST PART!–once done, you can start shoving them in your mouth almost right away, while they’re still warm from the oven. I did manage not to eat them all, brought the rest into work for my taste-testing crew, and even in their day-later-less-than-crunchy state, they were a hit. So would I make these again, even though they fell a bit short of the real thing? Does Doodle dust glow in the dark? You betcha!
Cheese Crackers
Ingredients
- 1 cup all-purpose or whole-wheat flour
- 3/4 tsp kosher salt
- 1/2 tsp. ground pepper optional
- 4 Tbsp cold unsalted butter but into small cubes
- 8 ounces grated cheddar
- 3 –4 Tbsp cold water
Instructions
- In the bowl of a food processor, add flour, salt and pepper and pulse 2 or 3 times to mix.
- Add cold butter cubes and pulse until the flour mix looks like coarse cornmeal.
- A bit at a time, add the grated cheese and continue pulsing, again until the mixture looks like coarse meal.
- One tablespoon at a time, add the water and pulse. The dough will form a ball and start riding the processor blade.
- Remove the dough mixture from the processor, form into a round and flatten, then wrap in plastic wrap and chill for at least 20 minutes and up to 24 hours.
- Place the chilled dough on a lightly floured surface, and roll thinly, about 1/8″.
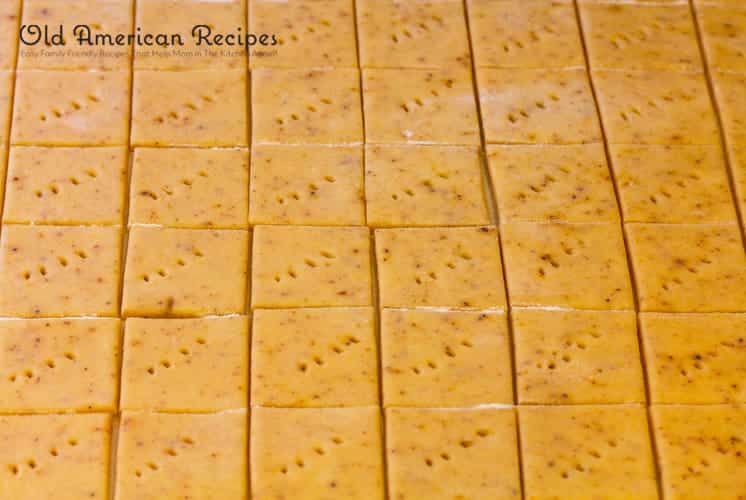
- Use a pizza cutter or sharp knife to cut into 1″ squares. Prick the crackers with a fork. Transfer to a baking sheet lined with parchment or a silicone baking mat.
- Place into a preheated 350° oven for 15–20 minutes. Remove from oven and cool crackers on a wire rack (if you can wait).
Notes
I started rolling on a wooden pastry board, then flipped the dough onto parchment to finish rolling and cutting, then transferred the parchment sheet to the baking pan. My crackers were just about an 1/8″ thick.
I baked mine for 20 minutes and some crackers were still a bit soft. You do have to watch them since you don’t want to them to overbake. They should look golden brown and somewhat puffy.
Recipe provenance: Found in an article on TheKitchn.com, which linked to a recipe on Home Cooking in Montana, which got it from Savory Seasonings, which adapted it from Country Living. Got that? A Classic!



If I don’t have a food processor, could I just use my stand mixer or blender?