Thanksgiving Bread is November’s #BreadBakers theme. You’d think it would be an easy one for me but noooo… Because in MY family, despite the fact that we’re MAJOR bread lovers/eaters, when we get together for a formal family dinner (formal for us meaning no one is wearing their jammies), the bread just sits there, untouched. As a serious hobby baker, of course, this irks me no end. It’s certainly not that the bread is BAD (can such a thing exist?), but at holiday dinners? Maybe we just get distracted by the ridiculous amounts of food on the table (Mom’s annual refrain: “Do you think there’s ENOUGH? I don’t think there’s enough…”) so the bread sort of falls by the wayside because…ooh! Something shiny! All I know is it sits there uneaten until I start whining about it. But every year, I keep baking more. I live in hope.
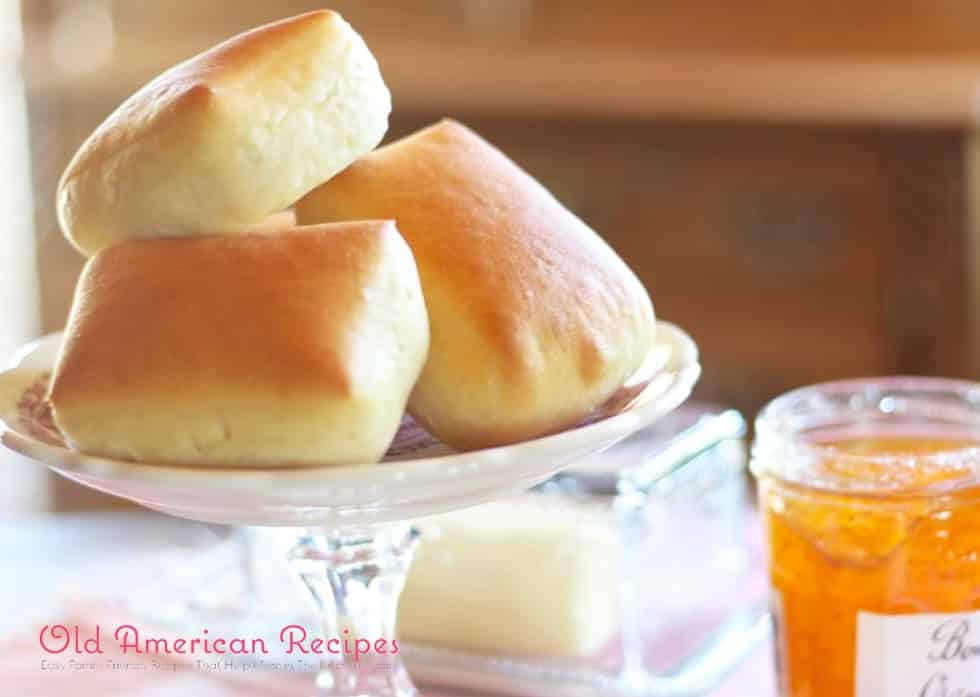
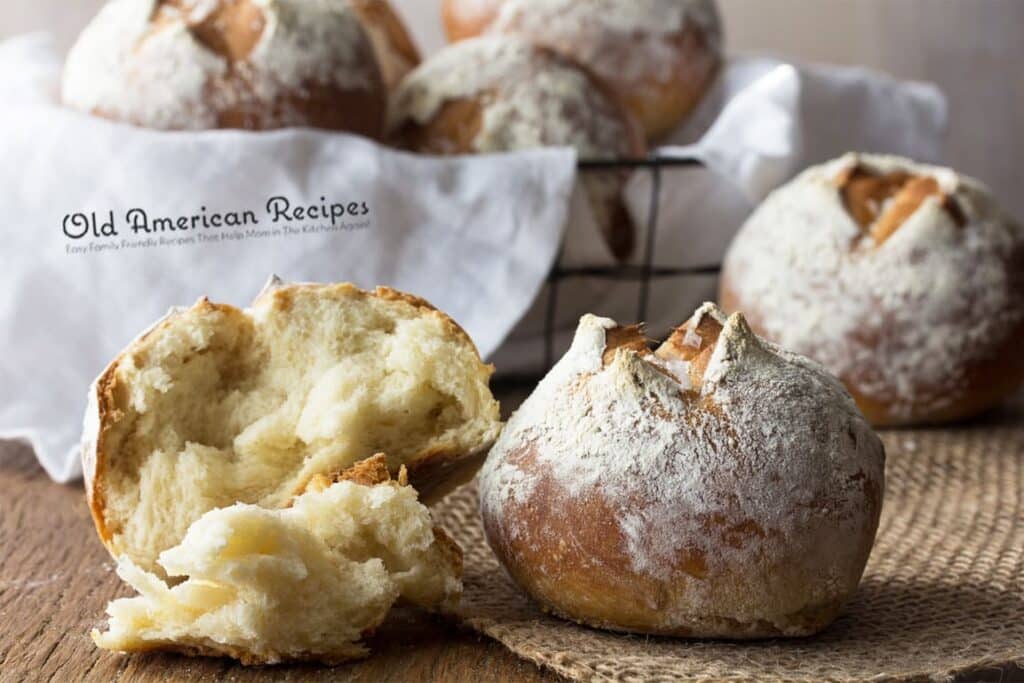
I think we’re gonna have a breakthrough this year. No artsy-fartsy breads this time, we’re going back to basics. The Classic Dinner Roll. This is the kind of bread we fight over at restaurants, especially if the bread basket is mixed. (“I’ll give you a garlic knot and two breadsticks for your dinner roll.” “I’ll see your knots and sticks and throw in a pumpernickel bun…”) A perfect dinner roll is the Little Black Dress of the bread world. It never goes out of style. And these? Are the perfect dinner roll. I’ve searched long and hard to find them. Baked (and eaten) dozens of contenders and none made the cut. Until now. And here they are, courtesy of Fine Cooking. The Crusty French Bread Dinner Roll.
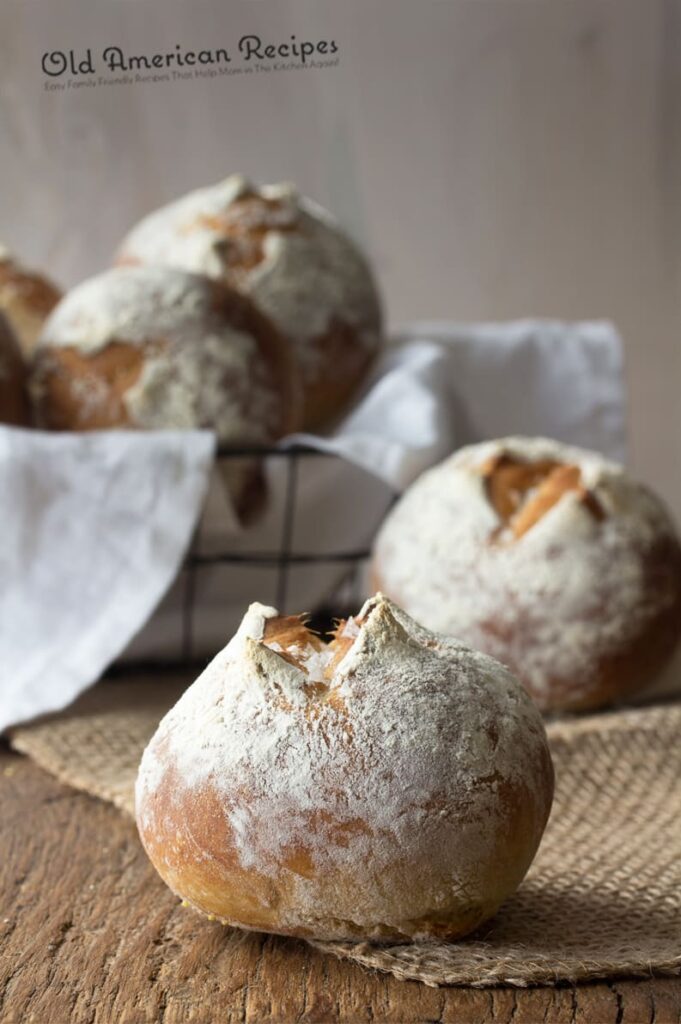
So how good ARE these, really? Thin, crispy crust? Check. Light, pillowy crumb? Check. Golden brown? Check. Rustic (and I mean that in the gorgeously artisanal way, not the “they’re lopsided and kind of messed up so I’ll just call ’em rustic” way)? Check, check, check. They’re actually quite easy, especially since the dough–the kind of soft dough that I love to work by hand–can be made in advance, which is fab if you’re in the midst of holiday frenzy. You can also bake and freeze them because they reheat FABULOUSLY. In fact, I think they’re even better reheated than fresh out of the oven. Who can resist a basket of warm crispy rolls? Not me, that’s for sure. With a little herb butter maybe? Yeah, baby!
I’m 100% confident that these are the rolls that will break the Curse of the Uneaten Bread. So pray for me, willya? There’s a lot at stake here. And have a very Happy Thanksgiving. Preferably with a classic dinner roll that you bake yourself.
These are for you, Sis!
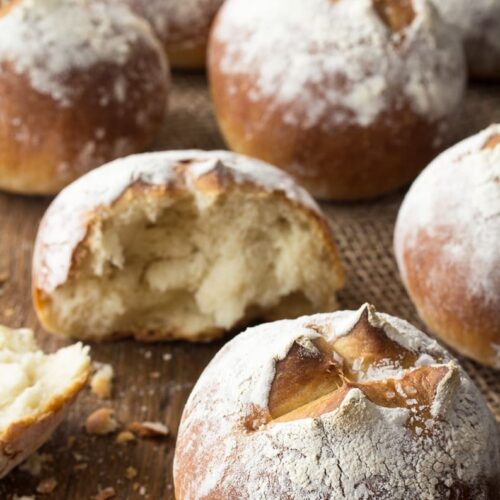
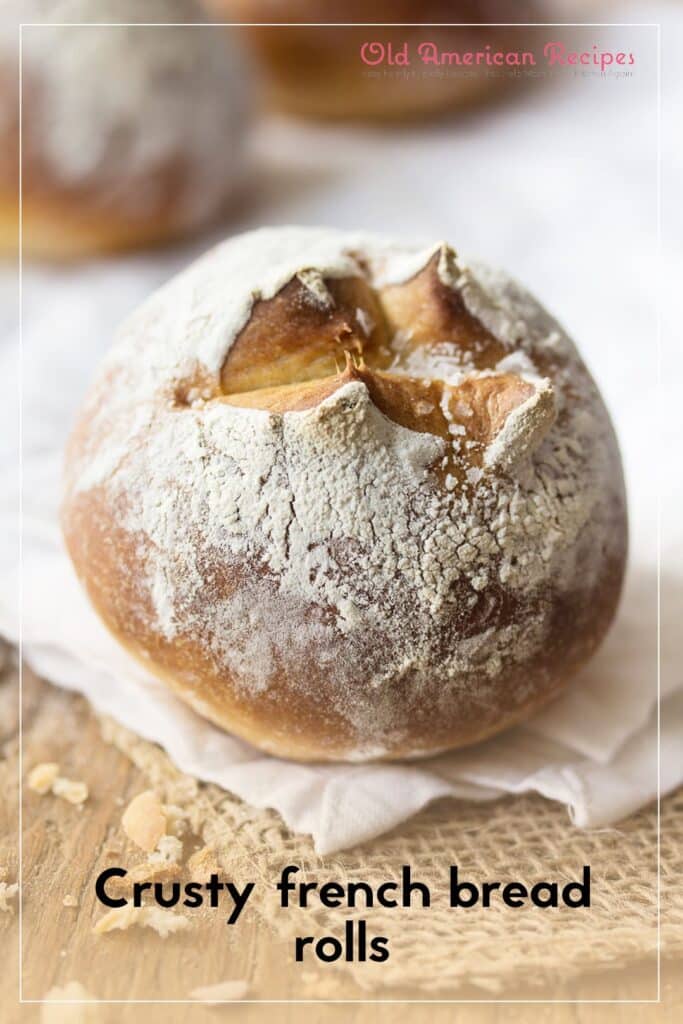
Crusty french bread rolls
Ingredients
- 5 –6 cups unbleached all-purpose flour or more as needed
- 2 tbsp melted clarified butter ghee or light olive oil
- 2 1/4 tsp active dry yeast
- 2 tsp sugar
- 2 cups lukewarm water
- 1/2 cup nonfat dry milk
- 1 tbsp salt
- all-purpose flour for dusting
- yellow cornmeal for baking sheets
- flaked sea salt or coarse salt
Instructions
- Sift the flour into a medium bowl and set aside.
- In a small bowl or measuring cup, add 1/2 cup of the water, then add the yeast and a pinch of sugar and stir until the yeast is dissolved. Set aside until bubbling.
- In a large bowl, add the remaining 1 1/2 cups of water, the clarified butter/ghee/olive oil, sugar, milk powder, salt and yeast mixture and stir together.
- Add about 3 cups of the flour and stir with a dough whisk or wooden spoon until it comes together. Keep adding flour–approximately 1/2 cup at a time–stirring until the dough makes a rough mass that starts to pull away from the bowl and can’t be stirred easily. You probably won’t need all of the flour.
- Lightly flour a work surface and using a bowl scraper or rubber spatula, turn the dough out. With lightly floured hands, knead the dough, adding only enough additional flour to keep the dough from sticking. If needed, use a bench scraper to release the dough from your work surface. Knead for about 3-5 minutes or until it’s smooth and elastic and slightly sticky. Form into a ball.
- Lightly grease a large bowl, place the dough ball in the bowl and turn to coat. Cover the bowl and set aside in a warm spot to rise until doubled in bulk, approximately 1 1/2–2 hours.
- Once doubled, turn the dough out onto a work surface and deflate, folding it over and forming into a ball. Place back in the bowl, cover and let rise again until doubled, 1 1/2–2 hours.
- Line two baking sheets with lint-free tea towels and VERY generously dust the towels with all-purpose flour.
- Once again, turn the dough out onto a lightly floured work surface and deflate. Divide into 12 portions, set aside and cover.
- Form each dough ball into a tight, smooth round (excellent shaping video here), then place each round onto the baking sheets, smooth side down in the flour. Cover the rolls with a lint-free towel and let rise until light and puffy, about 45 minutes.
- Line two more baking sheets with parchment, sprinkled with cornmeal. Place a small oven-proof pan on the floor of your oven and position the racks at the bottom and center. Preheat the oven to 450° at least 30 minutes before baking.
- When rolls have fully risen, gently invert them and place them floured side up on the parchment lined baking sheets (don’t remove the excess flour). Use sharp kitchen shears to cut an X on the top of each roll. Sprinkle with flaked sea salt or coarse salt.
- To help create steam, prepare a measuring cup with about 1/2 cup of ice cubes and set aside. Load the baking sheets onto the oven racks, then add the ice cubes to the pan on the bottom of the oven and quickly close the door.
- Bake the rolls for 20–25 minutes, rotating the pans and switching racks for even baking. Bake until lightly golden, then lower the oven to 400° and continue baking for another 5 minutes or until the rolls are a deep golden brown. Turn off the oven and leave the rolls for another 5 minutes or so to finish crisping.
- Transfer the rolls to a wire rack and let cool.
Notes
The recipe calls for sifting the flour, which I did the first time I made these. The second time, I forgot. I didn’t notice any difference at all in the texture of the rolls so I think you can safely skip the sifting if you’re lazy and forgetful…uh, EFFICIENT like I am.
I used ghee for my rolls because I always have a huge vat of it lying around (lots of Indian cooking at the House of Dough). Love to try it with olive oil too.
If you’re in a time crunch, the dough can be made up to two days in advance. After the first rise, deflate the dough, cover the bowl securely and store in the fridge. When you’re ready to bake, let the dough to come to room temperature, then shape, rise and bake. I made them both ways and didn’t notice any difference, although I got a little impatient waiting for the dough to “warm off” (as my mom would say. Love you, Mom!) so it was a bit stiff to work with.
These really should be eaten warm. At room temp, they’re still good but the crispy, crunchy crust is no longer crispy and crunchy. To reheat/re-crisp, place them directly on the rack in a preheated 400° oven for about 5 minutes, then turn the oven off and let the rolls sit for another 5 minutes.

